How to Remove Stars With StarNet
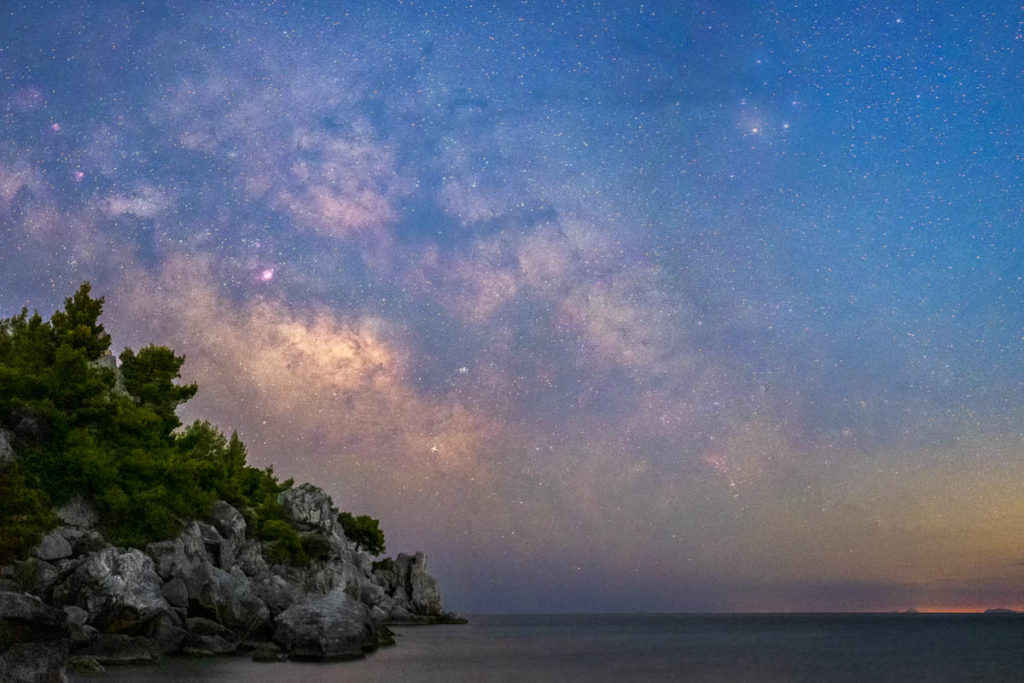
Have you ever wanted to remove the stars in your astrophotography photos? Perhaps you want to focus on the details of your deep-sky object, or maybe you want to process the stars and the object separately to achieve a punchy image without blowing out the stars. Whatever your reason, there is a simple and free software called StarNet (formerly known as StarNet++) that can help you. In this tutorial, I’ll show you how to use StarNet to remove stars from your photos.
StarNet is a neural network-based software that removes stars from images in a single step. It works by analyzing your image and determining which pixels are stars and which are the background or the object. The star pixels are then replaced with an interpolation of the surrounding pixels, resulting in a starless image.
Download StarNet++
First download StarNet from its official website. The command line tool is available for Windows, Linux and Mac OS. The Mac OS version is relatively new and still experimental so you might find some bugs. The graphical user interface version is available only for Windows. Choose the one that matches your operating system and download it.
Extract StarNet++
Once you have downloaded StarNet, you will need to extract it. You will get a folder called StarNetv2CLI_Win. Inside this folder, you will find the starnet++.exe application file if you have downloaded the command line tool or starnetGUI.exe if you have downloaded the graphical user interface version.
Run StarNet++
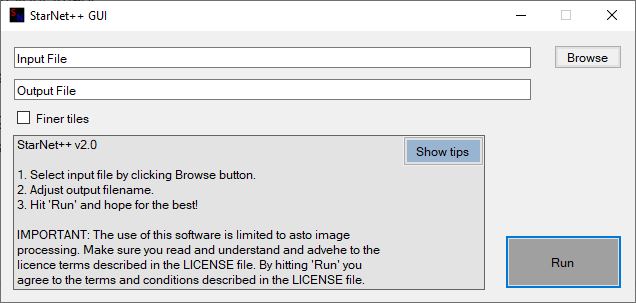
All you need to do now is place your astrophotography image in the same folder where StarNet is stored. The image must be in .TIF format. Then, drag and drop your image file onto the appropriate application icon if you have downloaded the command line tool or use the browse button of the graphical user interface button to load your image. A black window will appear and StarNet will begin removing stars from your image.
Check Your Results
When StarNet finishes processing your image, it will create a new file with -Starless appended to its name. For example, if your original image was called DSF4902.tif, then your starless image will be called DSF4902-Starless.tif. You can open this file with any image viewer or editor and check your results.
You should see that all the stars have been removed from your image, leaving only the background. Depending on your image, you may see some artifacts in the starless image, but you can fix them later with some post-processing.
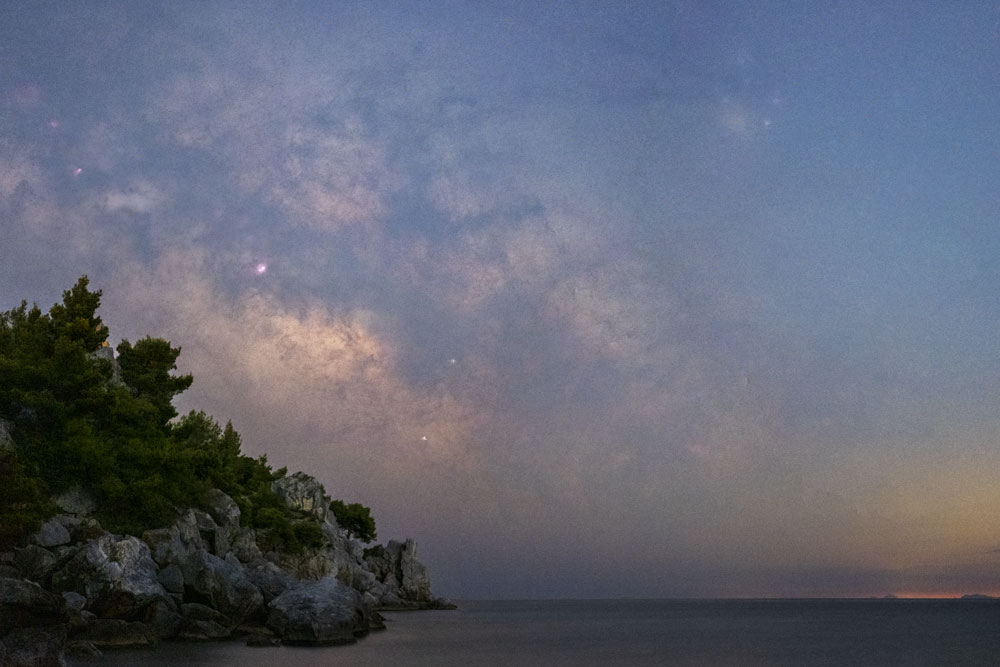
Process Your Images
Now that you have removed the stars from your image, you can process it as you wish. Open both images in Photoshop with the starless image at the top. Next change its blend mode to Difference and press Ctrl + Alt + Shift + e to create a stamp of the visible layers. This will create a layer which contains only the stars.
Next, you can enhance the details of your starless image, adjust the colors and contrast, reduce noise and artifacts, etc. You can also process your stars only image separately if you want to add some saturation and vibrance or adjust the temperature for example.
Add the Stars Back
If you want to add your stars back to your final image, make sure the stars only image is at the top and change its blend mode from Normal to Screen. You can also adjust its opacity if you want to make the stars less prominent. You can even apply a star reduction technique.
Final Words
And that’s it! You have successfully removed and added back the stars to your astrophotography image using StarNet++. This technique works great for wide angle astrophotography images like landscape images with the Milky Way! I hope you found this blog post helpful and informative. If you have any questions or comments, feel free to leave them in the comments below.
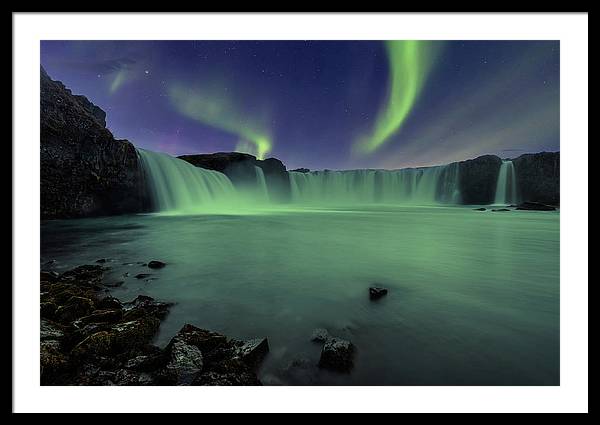
And if you are interested, here is a collection of my favorite Milky Way photos!
Clear Skies!

Comments on This Post
Steve HeapAuthor
Very interesting! I didn’t know about this. Thanks!