How to Photograph Moving Water
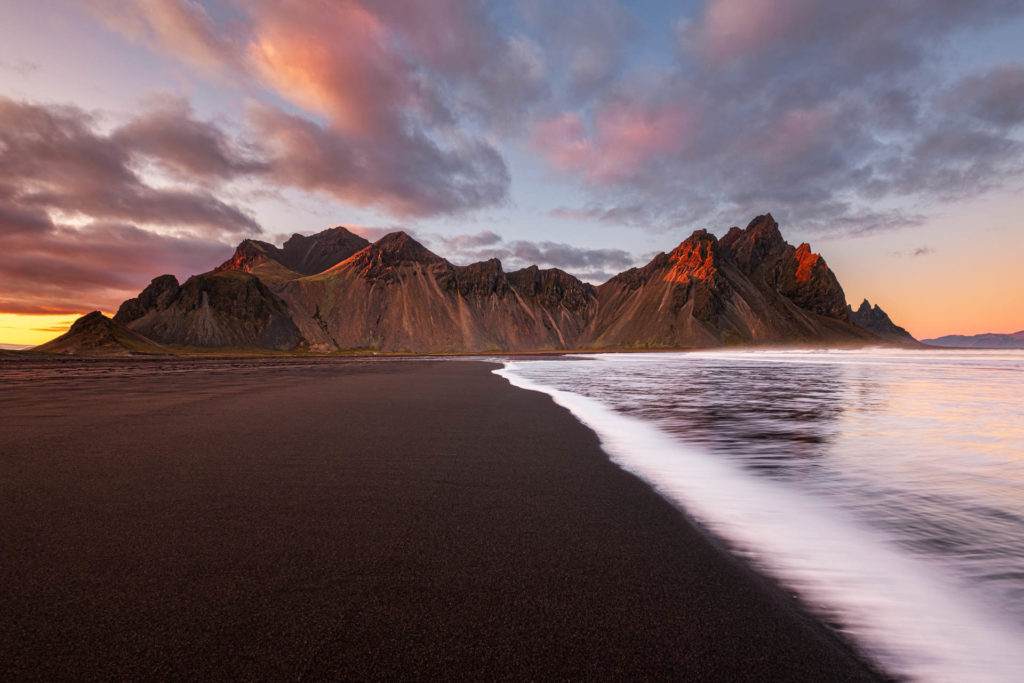
You’ve probably all seen photographs of silky smooth waterfalls, rivers, or the sea. Of course, these are usually eye-catching because they create an effect that you can’t perceive with your naked eye. In this tutorial, I’ll share with you some settings, tips and tricks on how to take long exposure photos. So, let’s have a look at how to take beautiful photos of running water!
What shutter speed blurs water
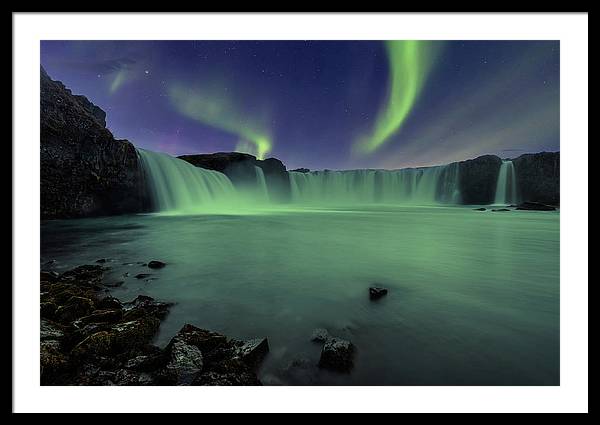
First things first, a short shutter speed will freeze moving water, whilst a slow one will blur the water and will give this smooth look to it. Depending on how fast the water moves you have to use different shutter speeds. To begin, try a shutter speed of 1/10th of a second or half of a second. This speed will usually blur the water a little, revealing some texture. A shutter speed of a few seconds will smooth out the water. Finally a long exposure of 30 seconds or more will really remove any detail and texture from the water.
Camera settings and gear to photograph water
To begin, set your ISO to 100 (or the lowest your camera allows), your aperture to f/22 (or the highest your camera allows), and use Aperture priority mode to let your camera determine the shutter speed. However, there are two flaws with this strategy. First, even with those settings, you may not be able to get a long enough shutter speed to blur the water, especially on a sunny day. Second, f/22 produces diffraction on your lens, which results in a less sharp image.
In order to address these two issues, the Neutral Density filters are used. Slower shutter speeds are possible with ND filters because they reduce the amount of light reaching your sensor. They come in two shapes. Circulars screw into the front of your lens, whereas rectangulars require a specific base to attach to your lens. I prefer to use circular ones because they are easier to attach and not so easy to break, plus they are cheaper. There are also some magnetic ones, which make switching between them much easier. The Neutral Density filters are available in different strengths which are measured in stops. The higher the f-stop number the less light enters the camera and consequently longer exposure time is needed for a properly exposed image.
So, to photograph water I use either a 3 stop or a 10 stop ND filter. The 3 stop is used when I want to maintain the texture on the running water while the 10 stop when I want to really smooth out any details and give the misty look on the water.
Of course with such slow shutter speeds a sturdy tripod is required. You don’t want your camera to move while taking the picture!
How to photograph waterfalls
When someone starts getting into long exposure probably he gets a 10 stop ND filter and maxes out the shutter speed. This might not look good in all cases though. It all depends on the emotion you’re trying to convey.
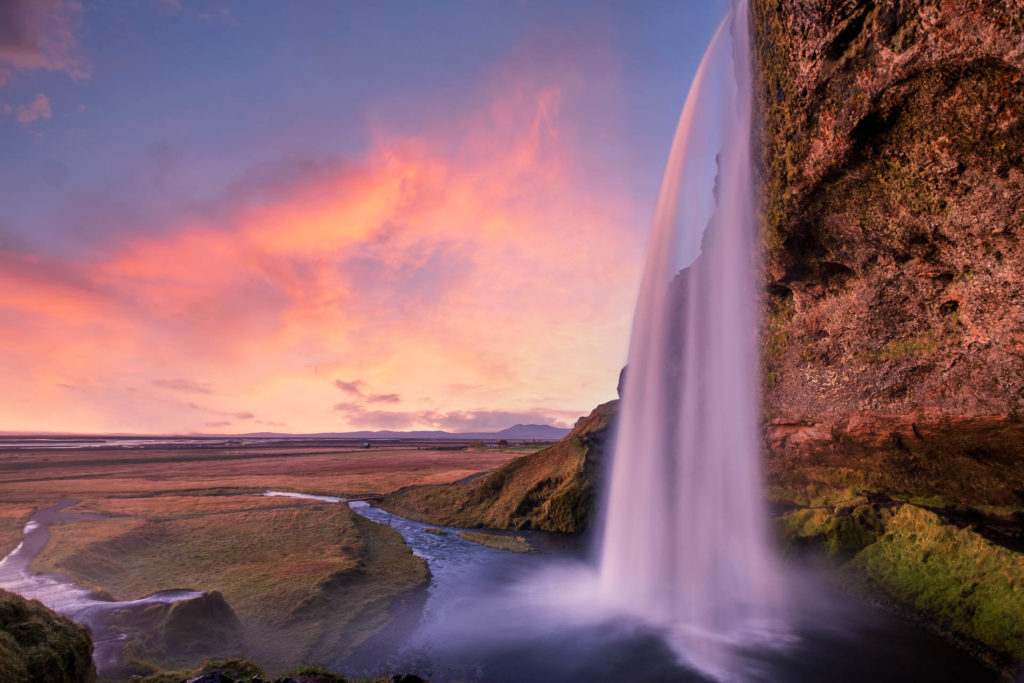
Take for example the following photo of Seljalandsfoss waterfall in Iceland. Here I have used a shutter speed of 2 seconds which was enough to really smooth out the water. It added to the tranquillity of the picture, in my opinion.
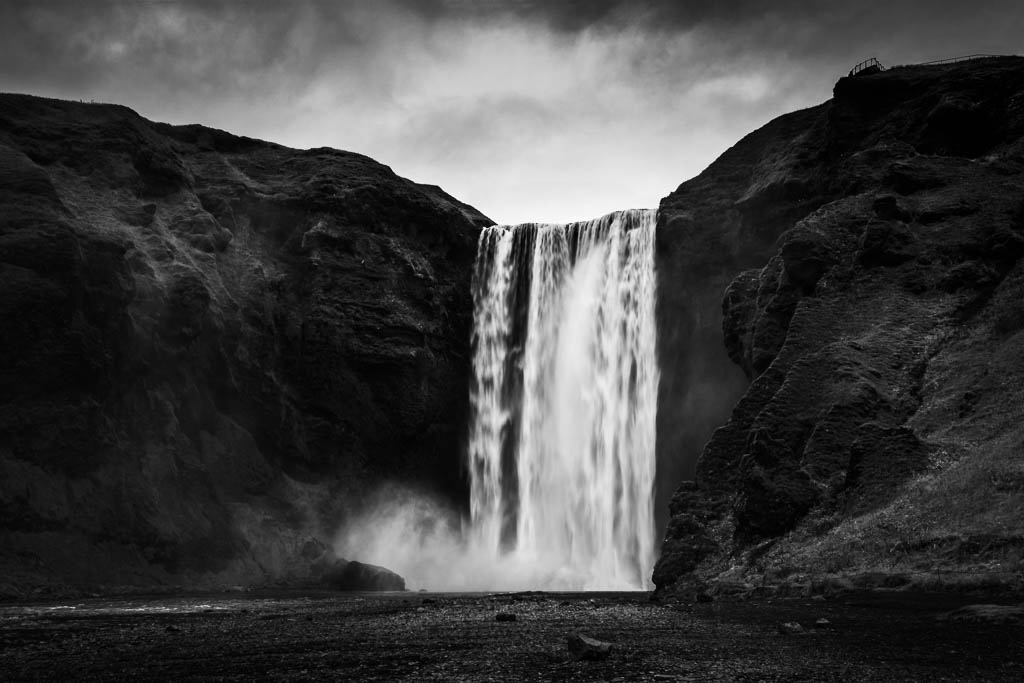
However in the next photo of Skogafoss waterfall in Iceland I used a shutter speed of only 1/10th of a second. You can still see the texture and cascades of the water as it breaks down through the air. This, I believe, contributes to the black and white photograph’s dramatic vibe and mood.
How to photograph waves
When photographing waves, keep in mind how much you want the water to be blurred. Water streaks may usually be achieved using a shutter speed of half a second.
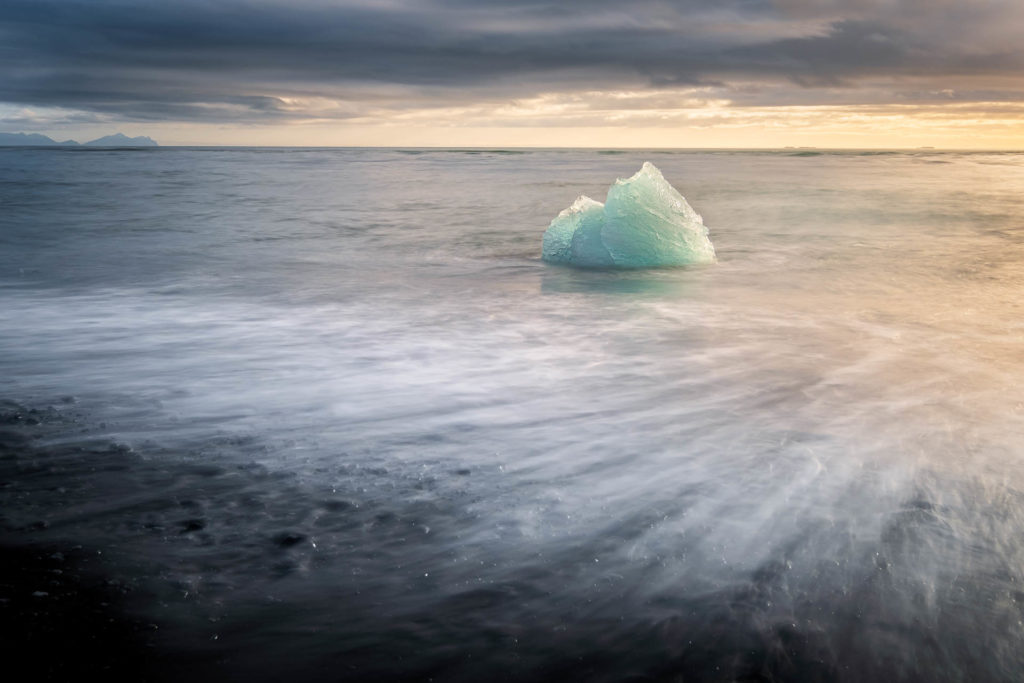
In the following photo from Diamond beach in Iceland I used a shutter speed of 2.6 seconds. I wanted to get really long water streaks and I used this setting because the wave was slowly coming in and out.
However in the next photo from Reynisfjara black sand beach in Iceland I used a longer shutter speed of 5 seconds. I wanted a more ethereal look in this photo to match the amazing Reynisdrangar basalt cliffs.
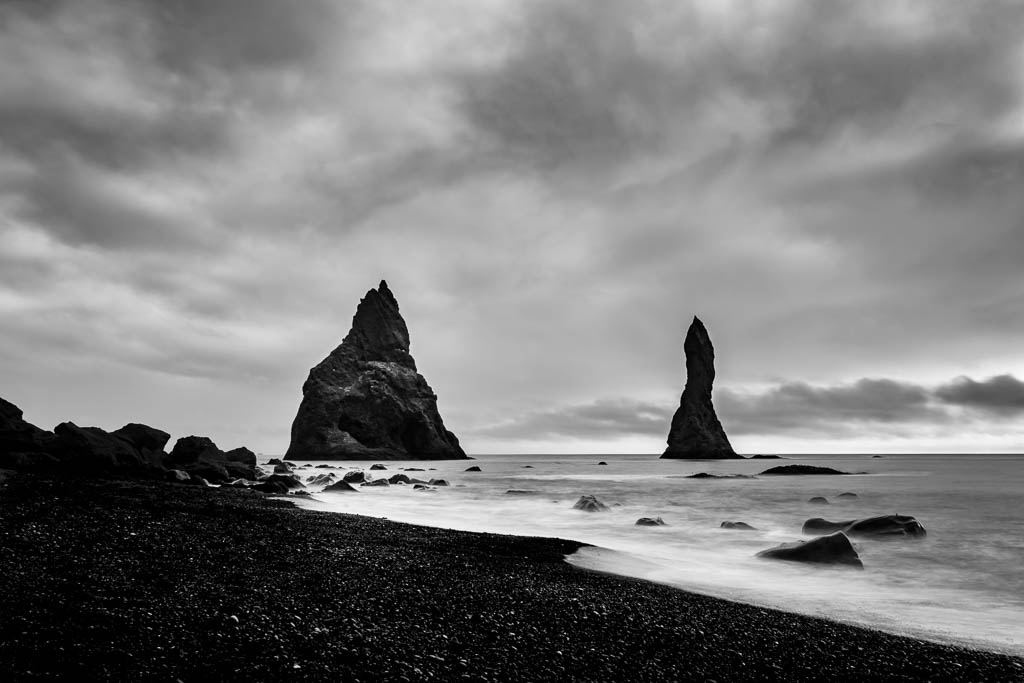
Another trick for photographing waves is to capture them both as they come in and as they leave. After that, you may see which one is more effective.
Also you want a relatively fast shutter speed when waves crash onto rocks. This way you will still blur the water a little bit but you will also catch the “explosion” of the wave on the rocks. Try something like 1/25th of a second.
If you want to really freeze a huge wave an even faster shutter speed is needed. Try something like 1/250th of a second or even faster.
Long exposure and seascapes
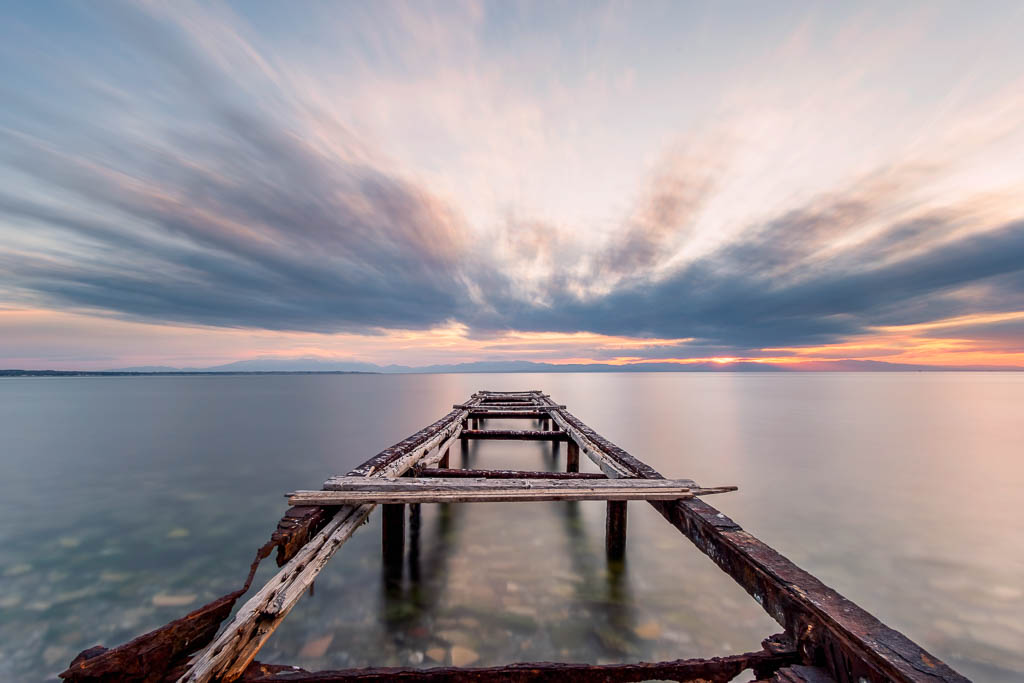
When photographing the sea or the ocean you can always try for a long exposure of 30 seconds or even more. Of course a 10 stop ND filter comes in handy in this case. This exposure can transform a decent scene into something much more eye-catching. Take for example the following captures. In both of them a 30 second exposure was used. The sea water looks like a mirror. Every detail has been removed.
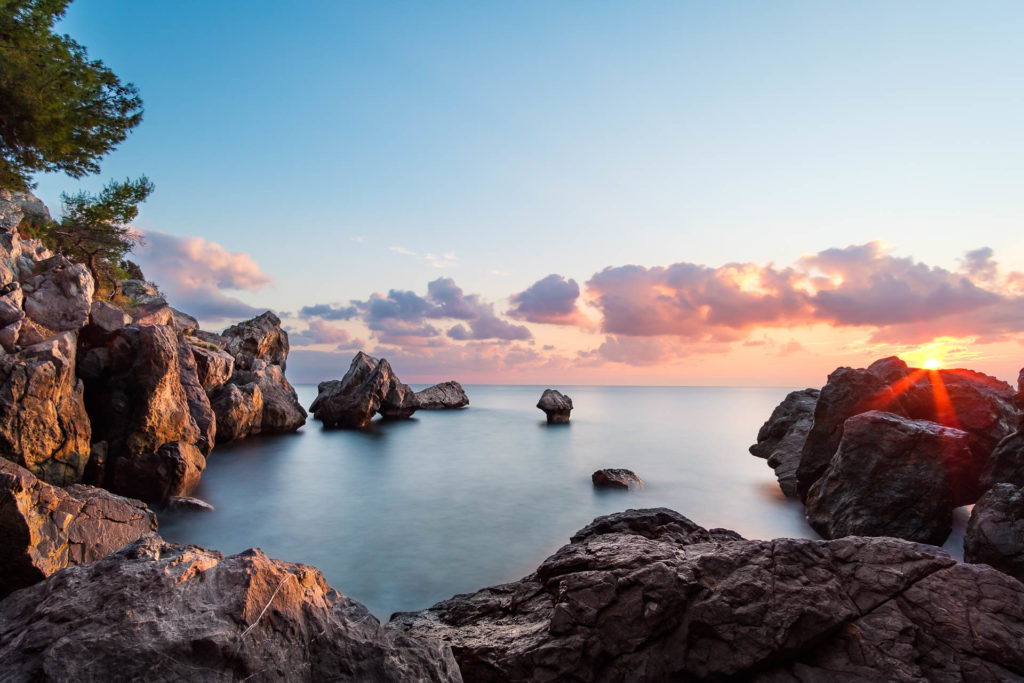
And if there is a strong wind as a bonus you get moving clouds into your photo.
Final words
My best advice is, when you photograph water, play around with your shutter speed! If you want the ethereal or misty look go for 30 seconds; while if you want some texture go for 1/10th of a second. Of course these numbers aren’t the golden rule. You’ll have to experiment to determine what works best in each image.

Comments on This Post
Steve HeapAuthor
Lovely images used as examples!
Alexios NtounasAuthor
Thank you so much Steve! I am glad you liked my photos!
jim hughesAuthor
Wow, beautiful work. No ocean here in Minneapolis, but we do have a waterfall!
Alexios NtounasAuthor
Thank you very much Jim! So, you are ready to try different shutter speeds and check on your own which waterfall photo you like the most!