How to Create the Orton Effect in Lightroom

The Orton Effect is a popular editing technique used in photography to create a dreamy, soft-focus look with vibrant colors and a slight glow. The effect is particularly popular in landscape photography. Originally developed using film photography, this effect can now be easily achieved in digital photography using editing software like Adobe Lightroom. In this blog post, we will guide you through the steps to create the Orton Effect in Lightroom.
Linear Gradient Mask
Start by creating a linear gradient mask which covers the whole image. In the screenshot below you can see the settings that I have modified in this mask. Decrease the clarity and the dehaze to reduce contrast in midtones. Add texture to increase small details. Add contrast and exposure to give back a bit of depth which was reduced by the clarity and dehaze. And protect the highlights by decreasing them.

Luminance Range Mask
Now we have to apply this effect only to the highlights of the photo. To do so right click on the mask and select Intersect Mask with Luminance Range. Now modify the Luminance range as you see in the screenshot below in order to affect only the highlights. Also drag the Lower falloff little triangle button to create a soft transition in the mask. You can enable the Show Luminance Map checkbox to see exactly which parts of your image are affected.
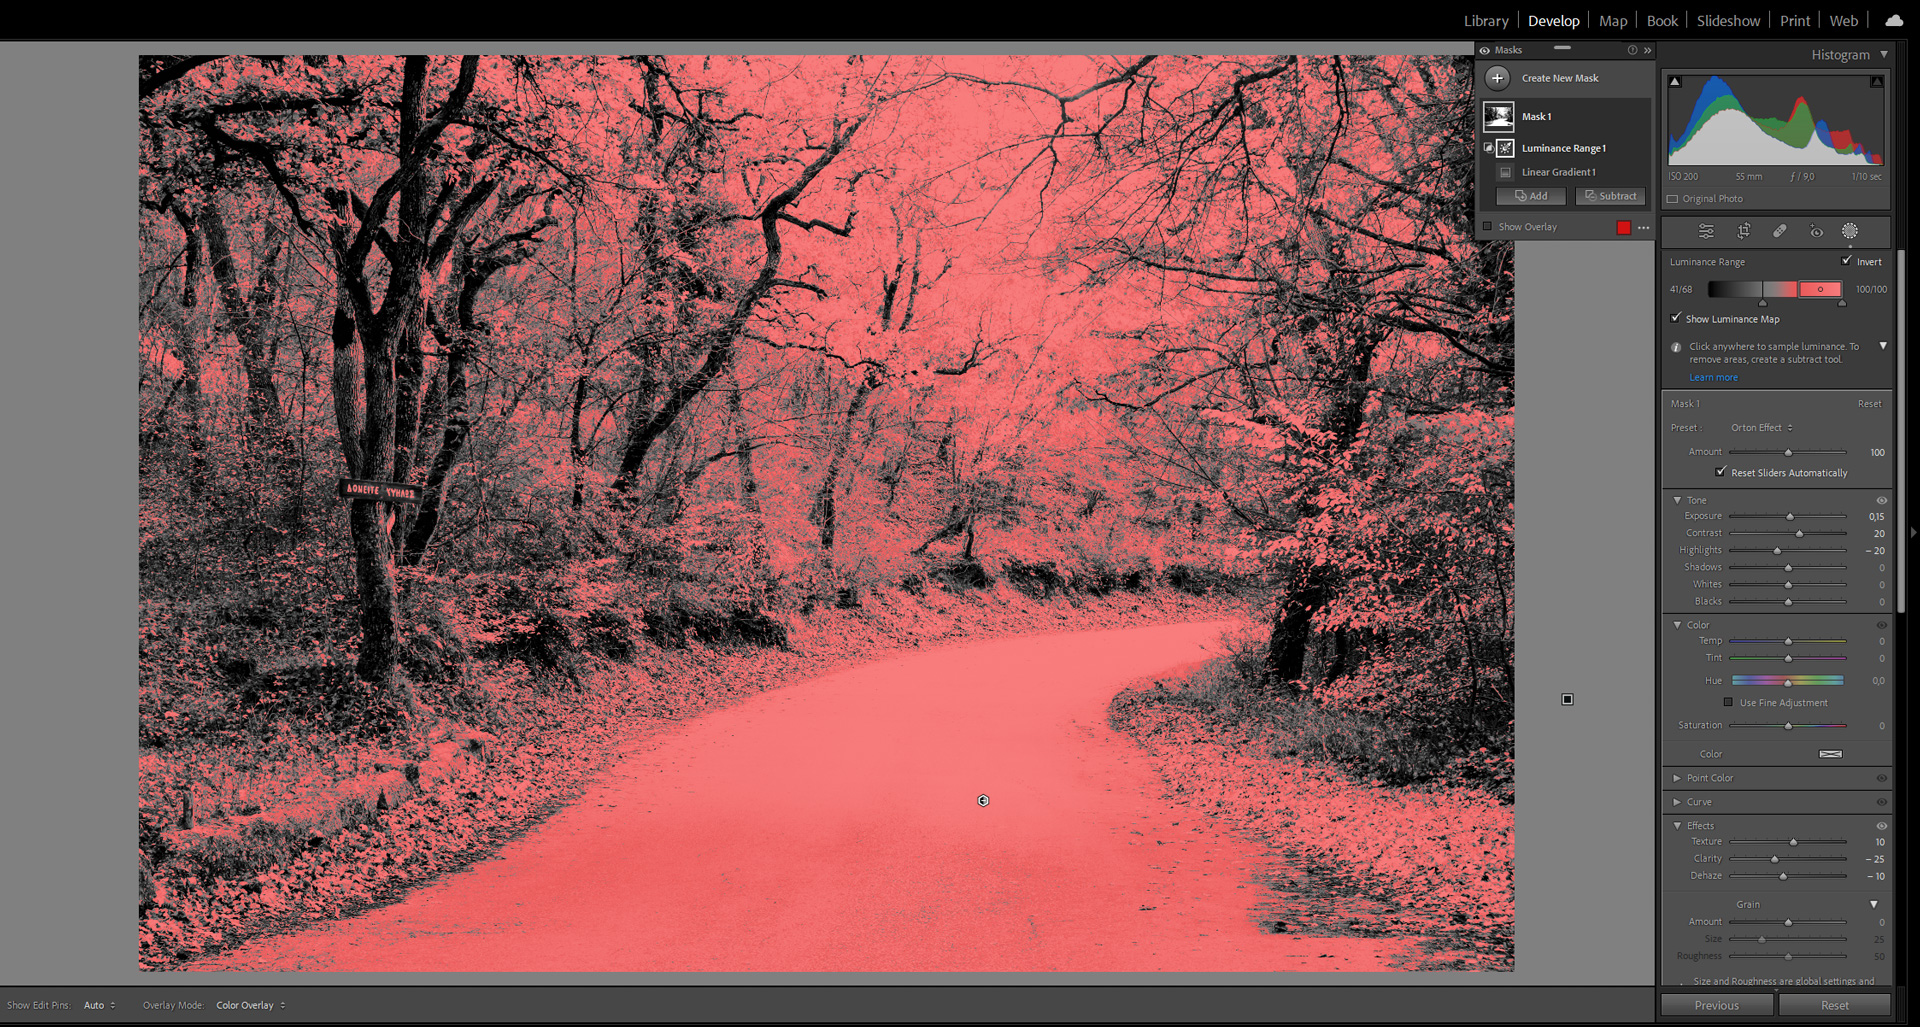
Certainly, the values provided for the sliders above are not fixed. Feel free to experiment with these settings and tailor them to your specific needs based on the photo you are working with and the level of the effect you wish to achieve!
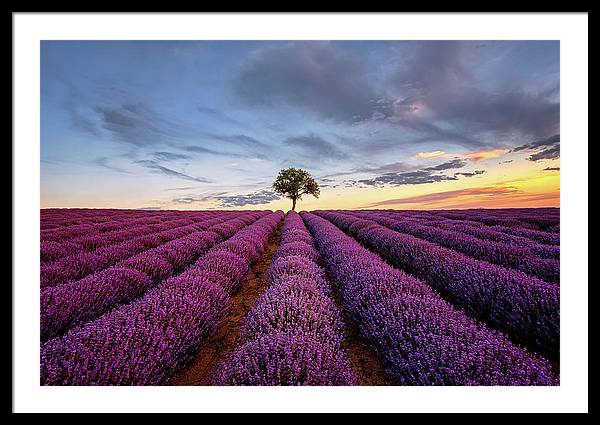
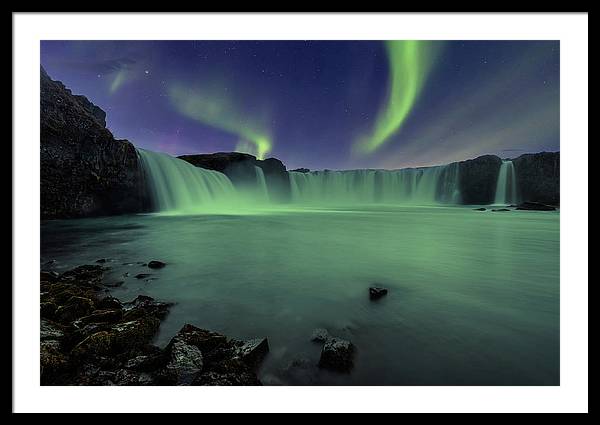
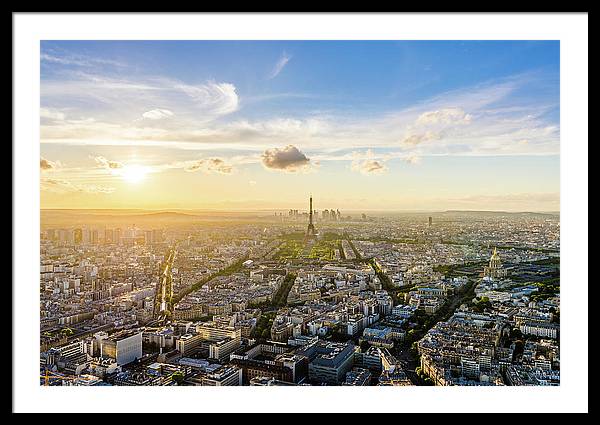
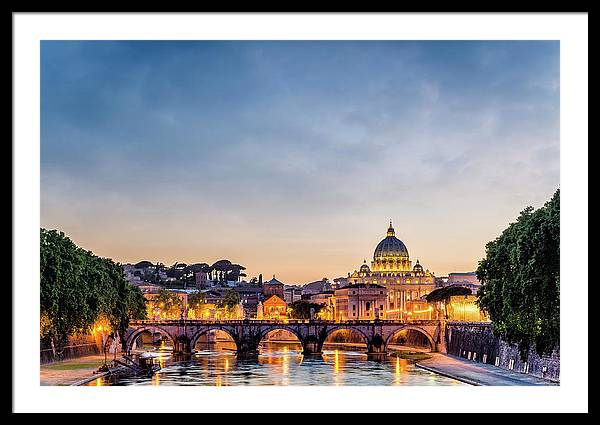
Here is the final photo. The effect needs to be very subtle in order have the biggest impact on the viewers!

By following these steps, you can easily simulate the Orton Effect in Lightroom and add a touch of magic to your photos. Experiment with different images and settings to create unique and captivating photographs that stand out!


