Blue Hour Photography The Essential Guide
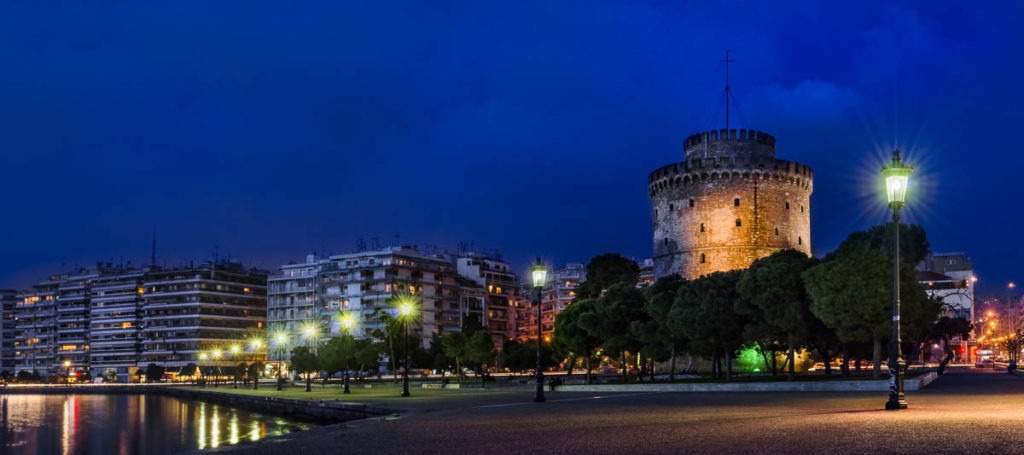
Have you ever been captivated by the mesmerizing twilight sky after sunset? That brief window where the world seems suspended in a dreamlike state, bathed in a cool, ethereal blue light? That’s the magic of blue hour!.
What is Blue Hour?
Blue hour, also known as civil twilight, is the short period just after sunset (or before sunrise) when the sun dips below the horizon but the sky hasn’t become completely dark. The remaining sunlight scatters through the atmosphere, creating a stunning display of deep blues, inky indigos, and sometimes even hints of pink and orange. This captivating light lasts for roughly 20-30 minutes, making it a precious window for photographers to capture unique and evocative images.
How to Shoot During Blue Hour
Here are some essential tips and tricks to help you master blue hour photography!
Plan and scout your location beforehand: One of the key aspects of blue hour photography is careful planning and scouting of your location. Understanding the timing of the blue hour and the specific location where you want to shoot is crucial for capturing the perfect shot. By arriving early and scouting the area, you can identify potential compositions and plan how to incorporate the elements of the scene into your frame. For cityscapes, consider the positioning of buildings and landmarks, while for natural landscapes, look for interesting foreground elements such as trees, rocks, or bodies of water that can add depth and visual interest to your composition.
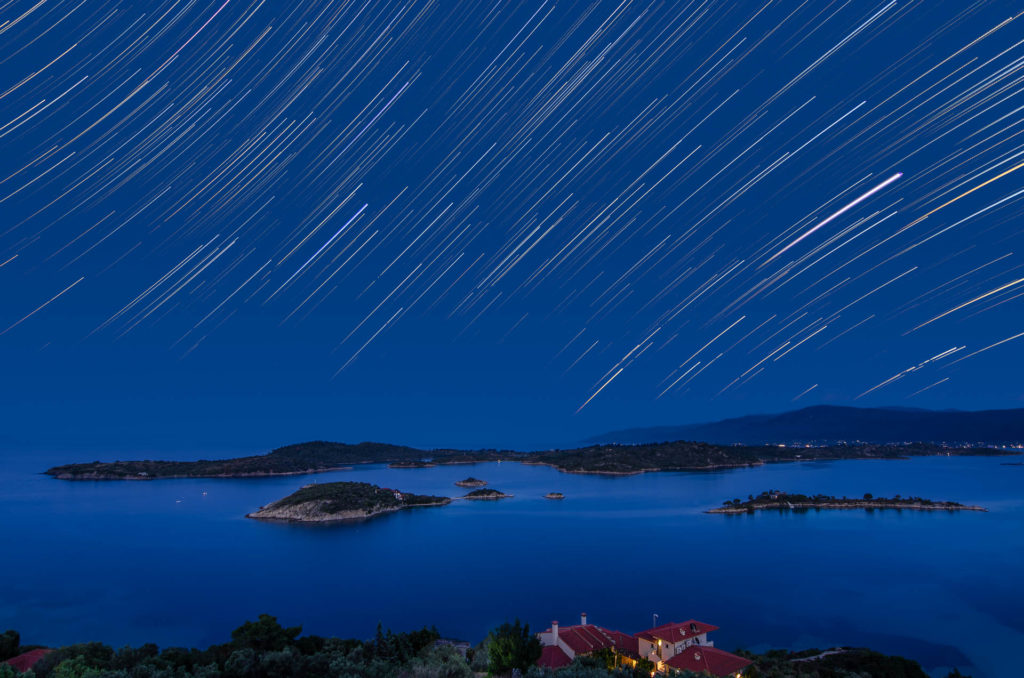
Be prepared for low light: During the blue hour, the light levels can be quite low, requiring longer exposure times to capture the scene. Therefore, it’s essential to be prepared for shooting in low light conditions. A sturdy tripod is indispensable to ensure sharp, blur-free images, especially when using slower shutter speeds. Additionally, if you plan to shoot in natural environments during the blue hour, bringing a headlamp or flashlight can be beneficial for navigating in the dark as the blue hour transitions into nighttime.
Shoot in Manual Mode (or Aperture Priority): When shooting during the blue hour, it’s essential to have control over your camera settings to achieve the desired exposure and creative effects. In situations where there are no moving objects in the frame, using Aperture Priority mode can be a convenient option, allowing the camera to automatically determine the exposure time while you adjust the aperture setting. However, if there are moving elements in the scene, such as flowing water or moving vehicles, shooting in Manual Mode gives you more control over both the aperture and shutter speed. This allows you to make precise adjustments to achieve the desired effect while also maintaining a low ISO setting to minimize noise in your images.
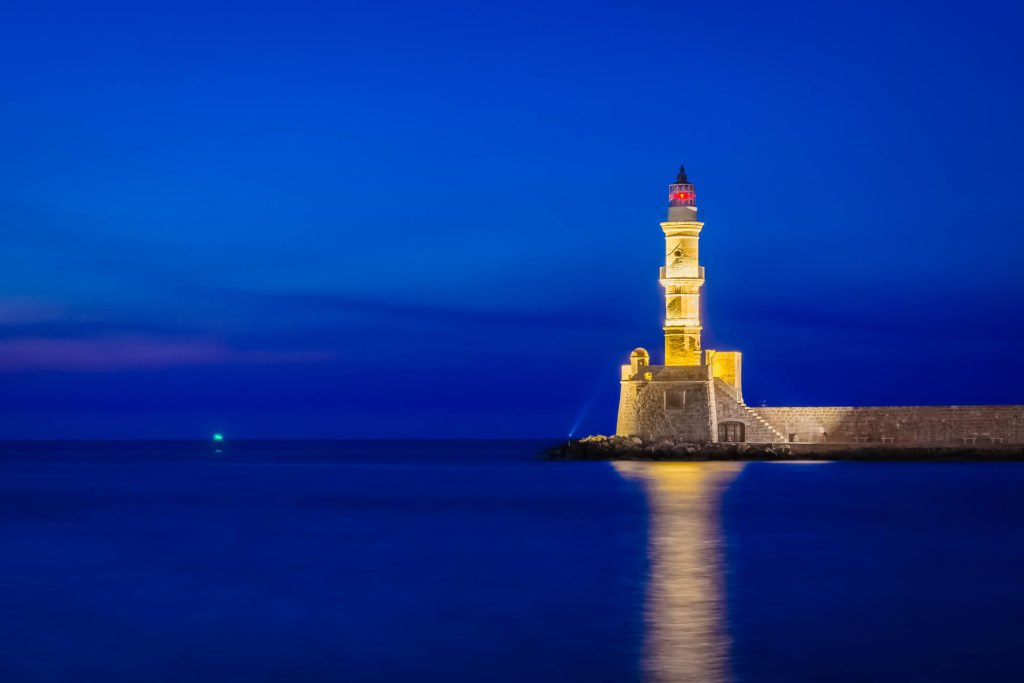
Embrace the blue tones: Shooting in RAW format offers greater flexibility and control over your images during post-processing. RAW files contain more data and allow for extensive adjustments to white balance, exposure, and color temperature without degrading image quality. This is especially important during the blue hour, as it enables you to fine-tune the blue tones and achieve the desired atmospheric effect in your photos. Embracing the natural blue hues of the blue hour can create a captivating and ethereal mood in your images, adding to the overall appeal of the scene.
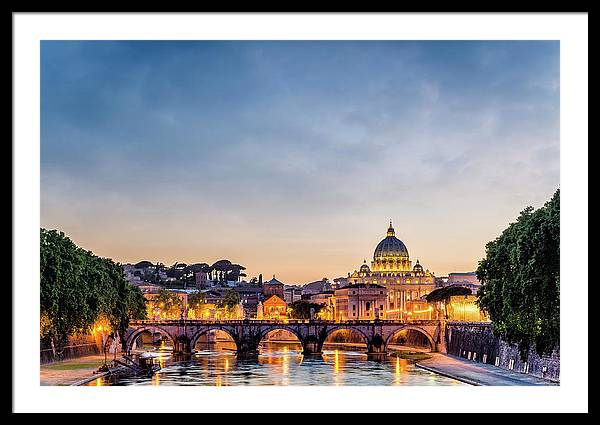
Play with artificial light sources: Incorporating artificial light sources into your blue hour photography can enhance the visual impact and storytelling of your images. The juxtaposition of the deep blue sky with the warm, glowing lights of the cityscape or street lamps creates a striking contrast that adds depth and visual interest to your compositions. Experimenting with the interplay of natural and artificial light sources during the blue hour can result in stunning and dynamic photos that capture the unique ambiance of this time of day.
Don’t forget the foreground: Including compelling foreground elements in your blue hour compositions can significantly enhance the visual impact and storytelling of your images. Silhouettes of trees, buildings, or people can add depth, scale, and context to the scene, creating a sense of narrative and visual interest. By carefully considering and incorporating foreground elements, you can create captivating and well-balanced compositions that draw the viewer into the enchanting world of the blue hour.
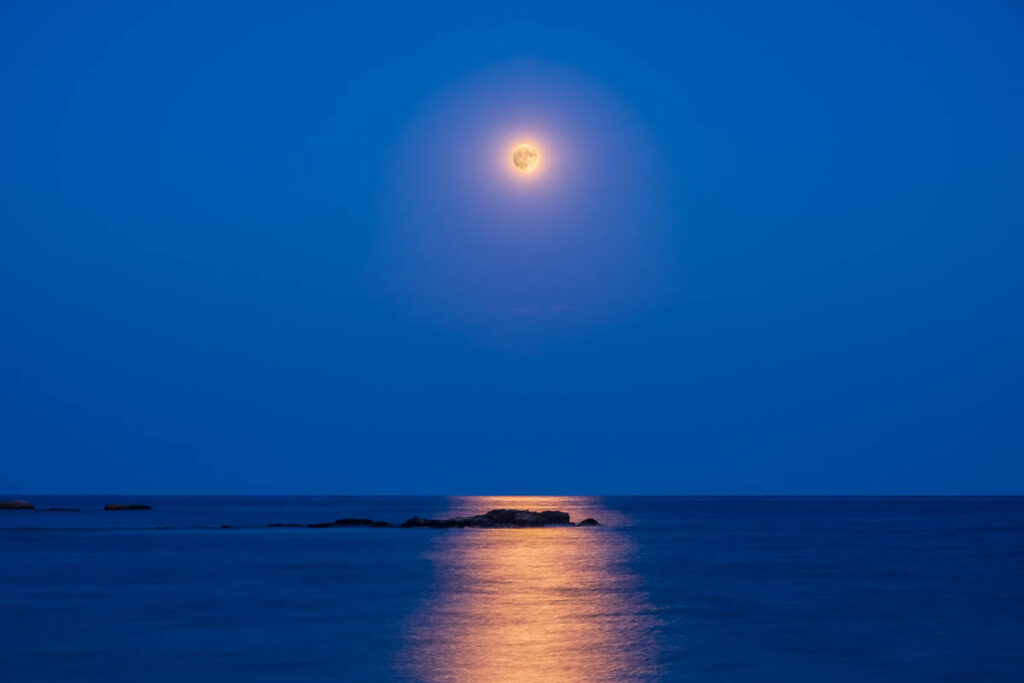
Embrace the Ephemeral Beauty
Blue hour photography is all about capturing a fleeting moment. With a little preparation and these helpful tips, you’ll be well on your way to transforming ordinary scenes into captivating images. So, grab your camera, head out during the next blue hour, and get ready to be amazed by the magic of this unique lighting phenomenon.
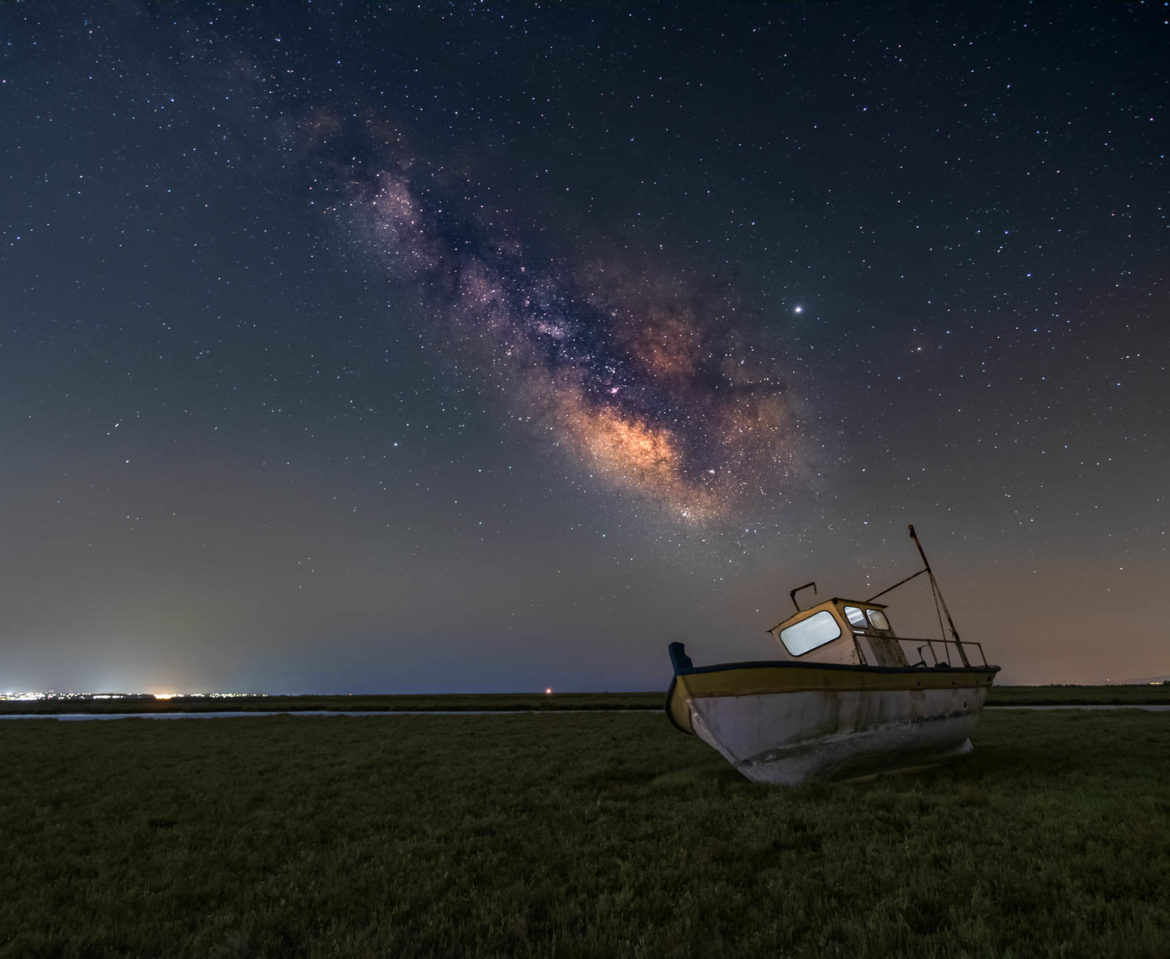
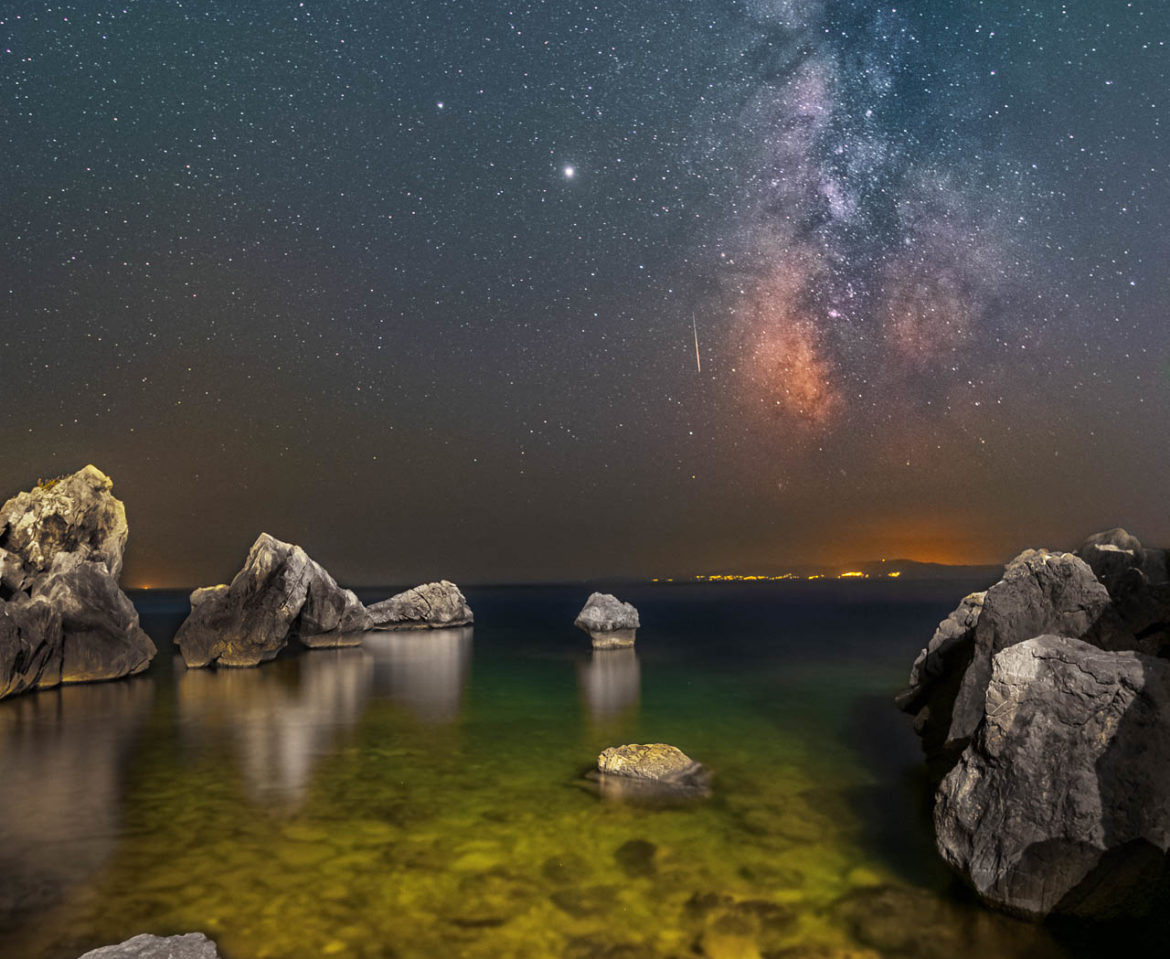
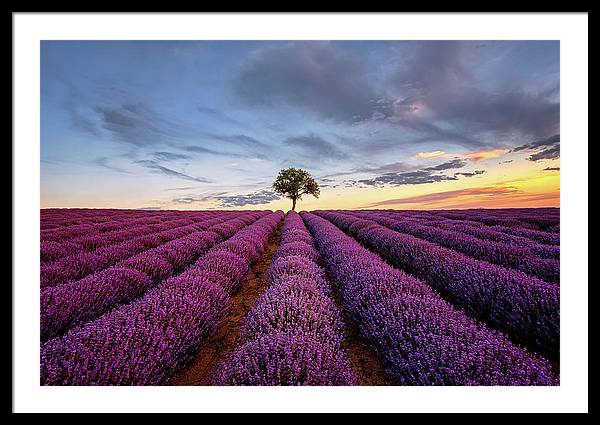
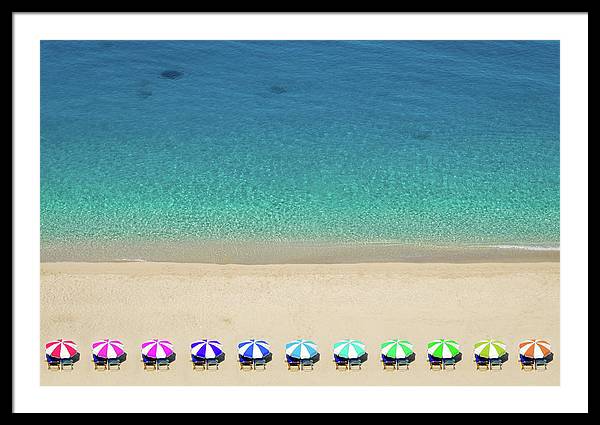
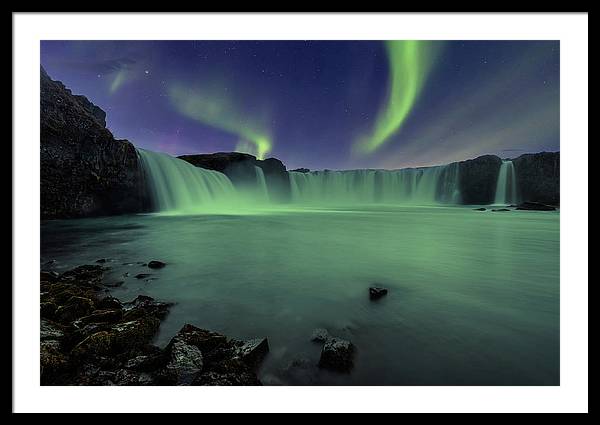
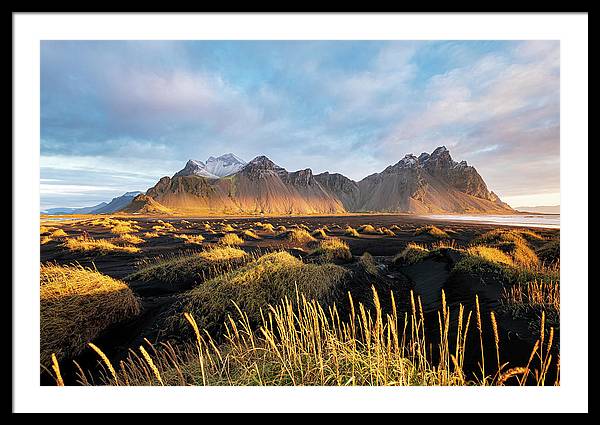
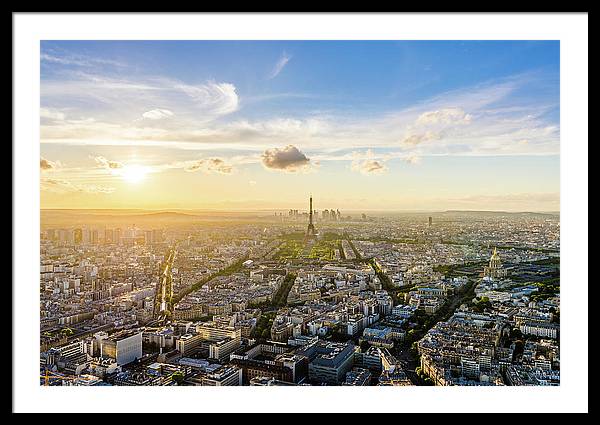
Here is a collection with my best blue hour photographs in case you want to get some inspiration!
