Camera Settings for Landscape Photography
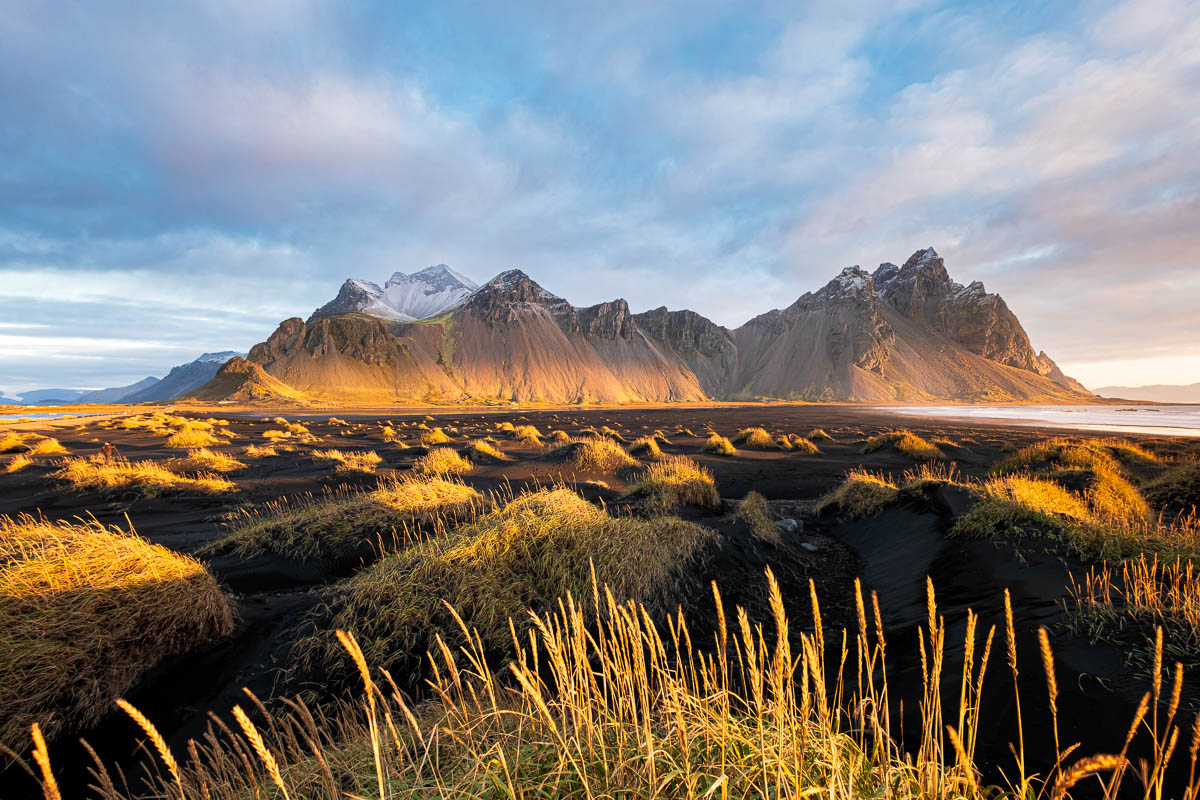
If you are new to landscape photography, you will undoubtedly have a question on your mind. What are the best landscape photography camera settings? In this article, I’ll try to give you some pointers on how to set up your camera so that you can take technically excellent photographs.
Shoot in RAW format
To capture as much data as possible in order to process your photograph later, you must shoot in RAW format. A RAW image from a modern camera contains so much data in the highlights, shadows, and color tones that editing your photo in Lightroom, Capture One, or any other image editor will yield a much more balanced result. When you shoot in JPEG, your camera makes numerous decisions regarding exposure, highlights, shadows, colors, sharpening, noise reduction, and other factors. It is far better to do everything yourself! Shooting in RAW also allows you to change the white balance of your image afterwards. This is really important since changing the white balance can make a huge difference in your final image.
Use the Base ISO
To obtain a noise-free image, use the lowest ISO setting available on your camera. Normally, this is 100, but some cameras have an even lower base ISO. An image with a high ISO will have noise in it. The amount of noise depends, of course, on the camera. Of course, if the default ISO isn’t allowing you to take a good photograph, don’t be afraid to increase it. A captured photo is preferable to no photo!
Use the sharpest aperture of your lens
Each lens has an optimal aperture, it is the aperture at which you can take the sharpest possible photograph. It is usually between f/8 and f/11. Set your aperture in this range unless you want to photograph something with a shallow depth of field or are doing astrophotography. You can conduct your own tests to determine the best aperture for each of your lenses. You should be aware that if you select a very small aperture, typically greater than f/16, diffraction will occur, resulting in a soft image.
Use auto shutter speed
Set your camera to aperture priority if you are using a tripod and there is no movement in your scene, such as when photographing moving water or when there is no wind. Set the desired aperture and ISO, then let your camera determine the best shutter speed for optimal exposure.
Focus
Auto focus in modern cameras is usually quite good. You’ll get a sharp image from front to back if you focus on something about a third of the way into the image. Of course, if an object is close to the camera, this may not be possible. If this is the case, you’ll need to take multiple photos with different focus points, at least one in the foreground and one in the background, and then combine them in post-processing. However, focus stacking is an entirely different topic. My advice is to always double-check your capture photo by zooming in at the back of your LCD screen to ensure that it is sharp.
Use bracketing
When photographing a sunrise or sunset, the scene has a wide dynamic range. A single photograph may not be sufficient to capture the details in the shadows and highlights. If your histogram is clipping, it is time to use bracketing. You can set your camera to take a normal exposure, an underexposed image, and an overexposed image if it supports auto bracketing. Usually one stop over and one stop under are sufficient. After that, you combine the images in post-processing. Three images are usually sufficient.
Final words
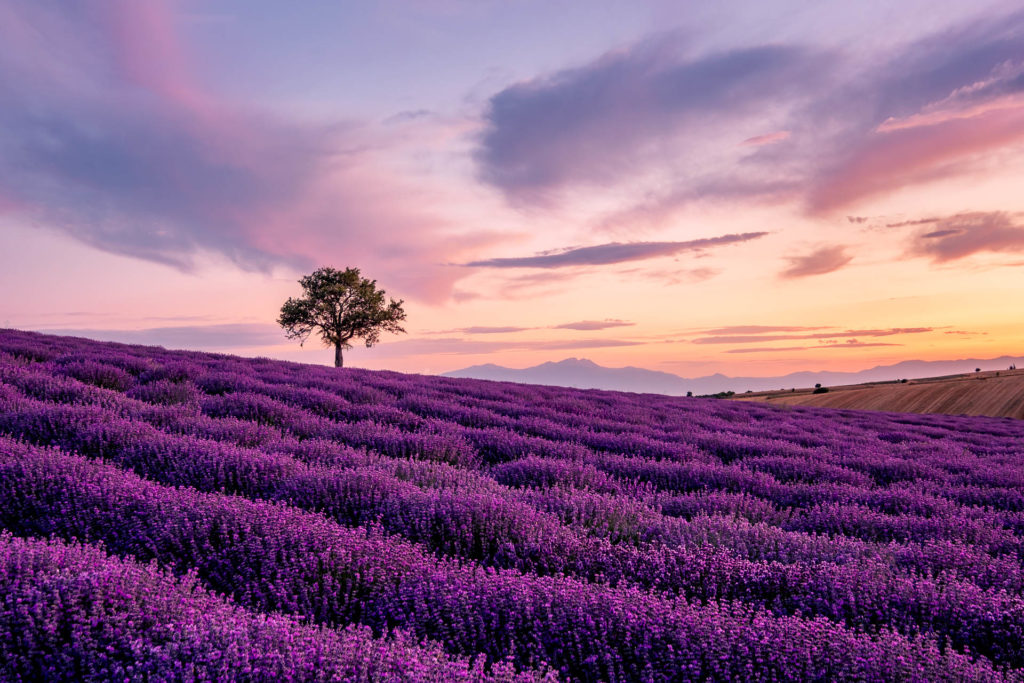
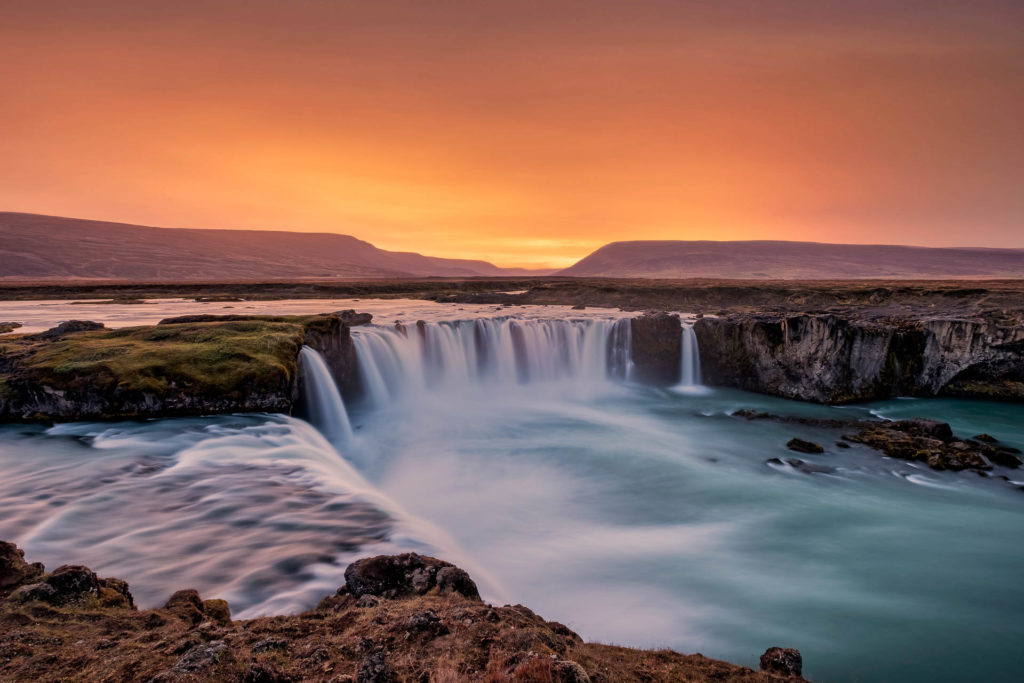
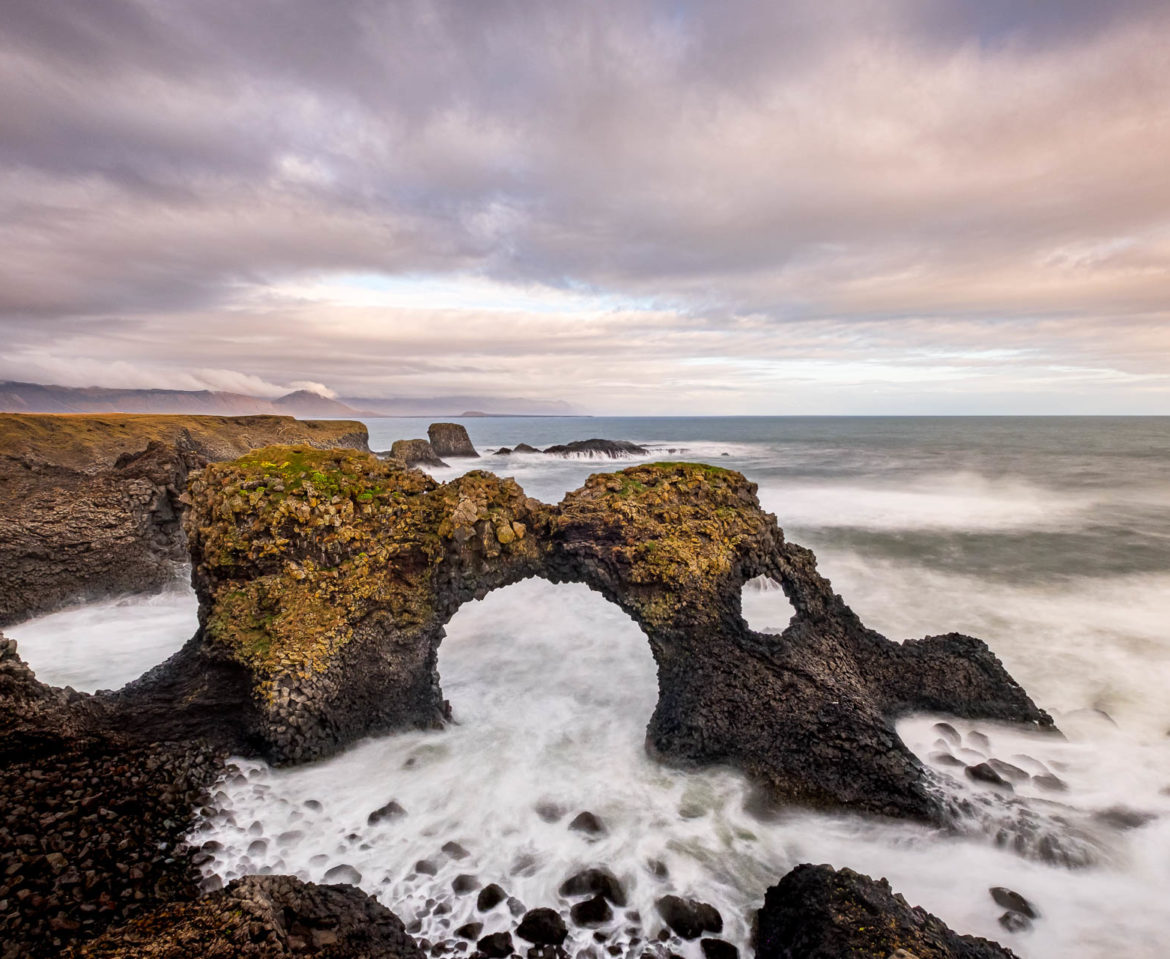
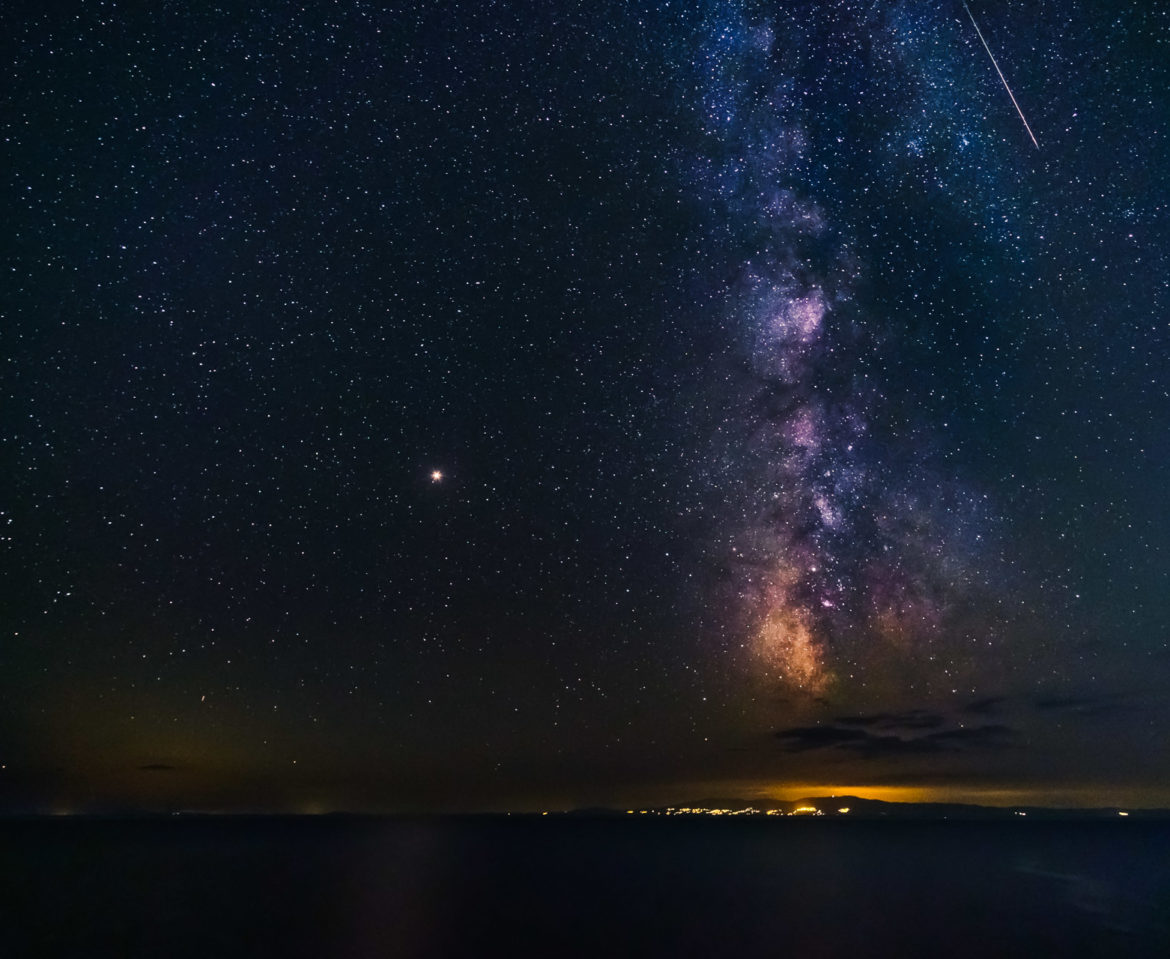
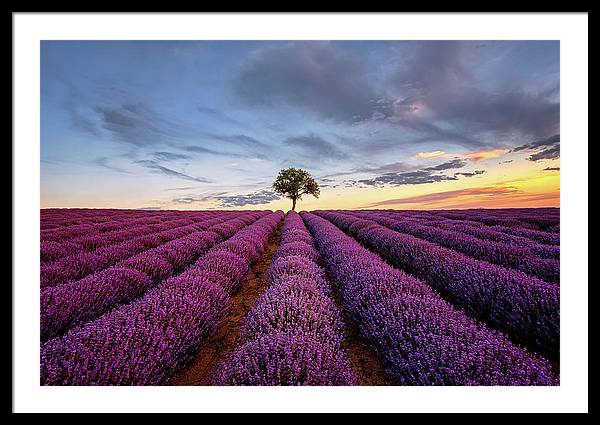
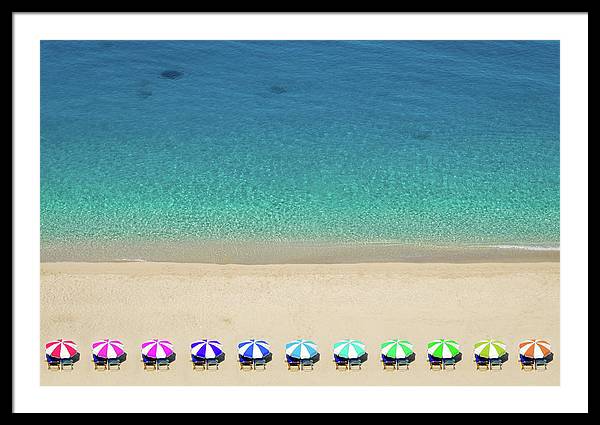
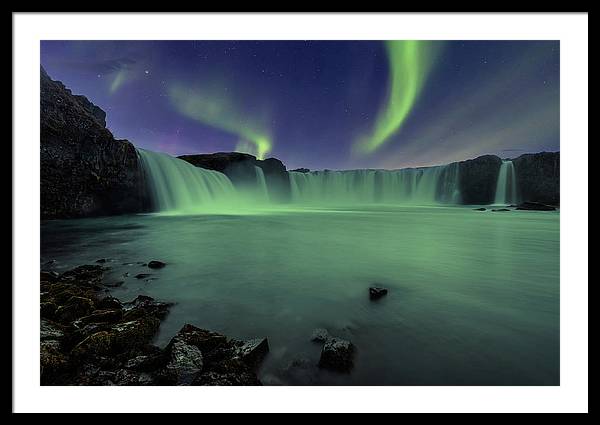
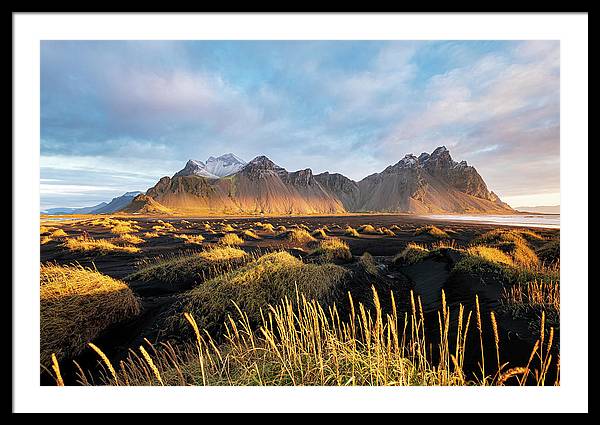
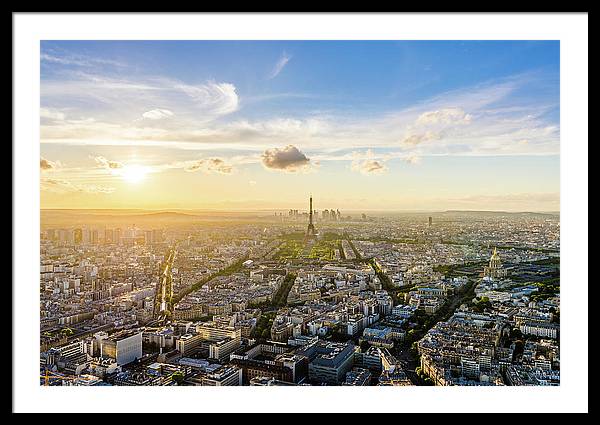
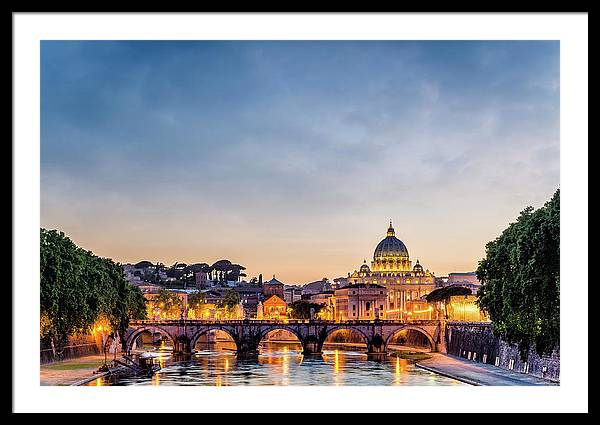
Of course, depending on the mood you want your image to convey or personal style, you can change any of those settings. Nonetheless, if you are a beginner landscape photographer, these camera settings will help you get started! Here is a collection with some of personal favorite landscape photographs!
10% off my markup on all products! Visit alexios-ntounas.pixels.com and use coupon code RYFNXE

Comments on This Post
VanAuthor
Very good