How to Create Star Trails using Sequator
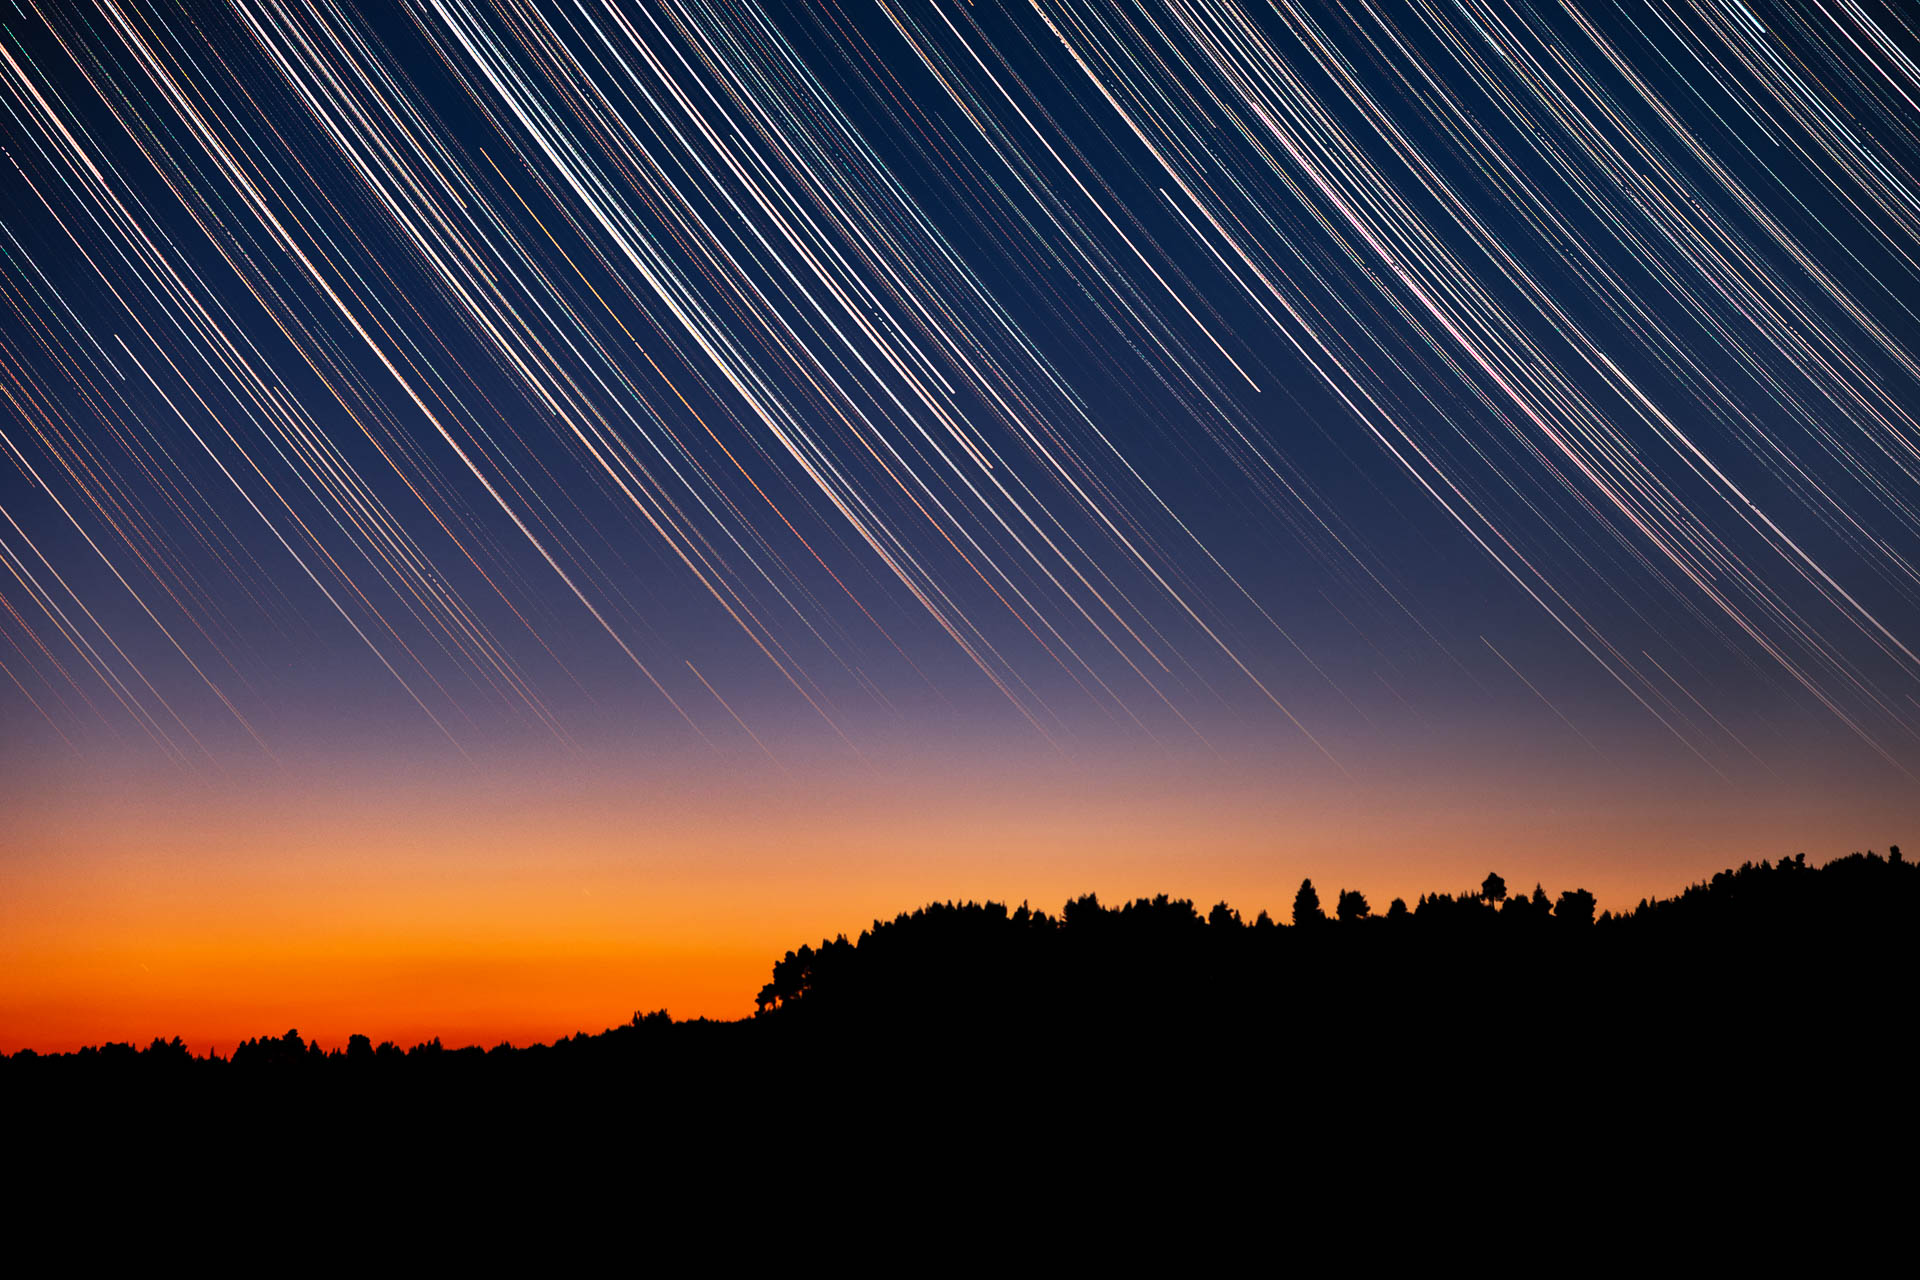
I find star trails photos to be really impressive. Maybe the reason is that it isn’t something you can see with your eyes. You can only imagine it when you stare at the night sky. Creating such trails is a relatively easy process. In this tutorial I will describe how to merge multiple star photos into a single photo with star trails. We are going to use a free software called Sequator. Sequator is a free astrophotography image stacking software for star images. It can align and stack your image exposures to create a better nightscape, milky way or even a deep space photo. And of course you can create star trails with it. Sequator is only available for Windows. If you are using Mac OS you can try one of the alternatives such as Starry Landscape Stacker.
First things first, in order to create a star trails photo you will need lots of star photos! The more photos you have the longest the star trails will be. So, place your camera onto your sturdy tripod, compose your photo and start taking consequent shots. The easiest way is to enable your camera’s intervalometer with an interval of 1 second between the shots and let it take photos for a few hours or till the battery dies. I won’t get into more details on how to get those shots in this tutorial though.
Once you have your photos you can import them into Sequator. It supports both RAW and jpeg/tiff files. Keep in mind that Sequator doesn’t support the Prophoto RGB format. The colors of your photo will look strange if it is in this format. I usually export my photos from Lightroom in TIFF format, Adobe RGB as Color Space and 16bits as Bit Depth.
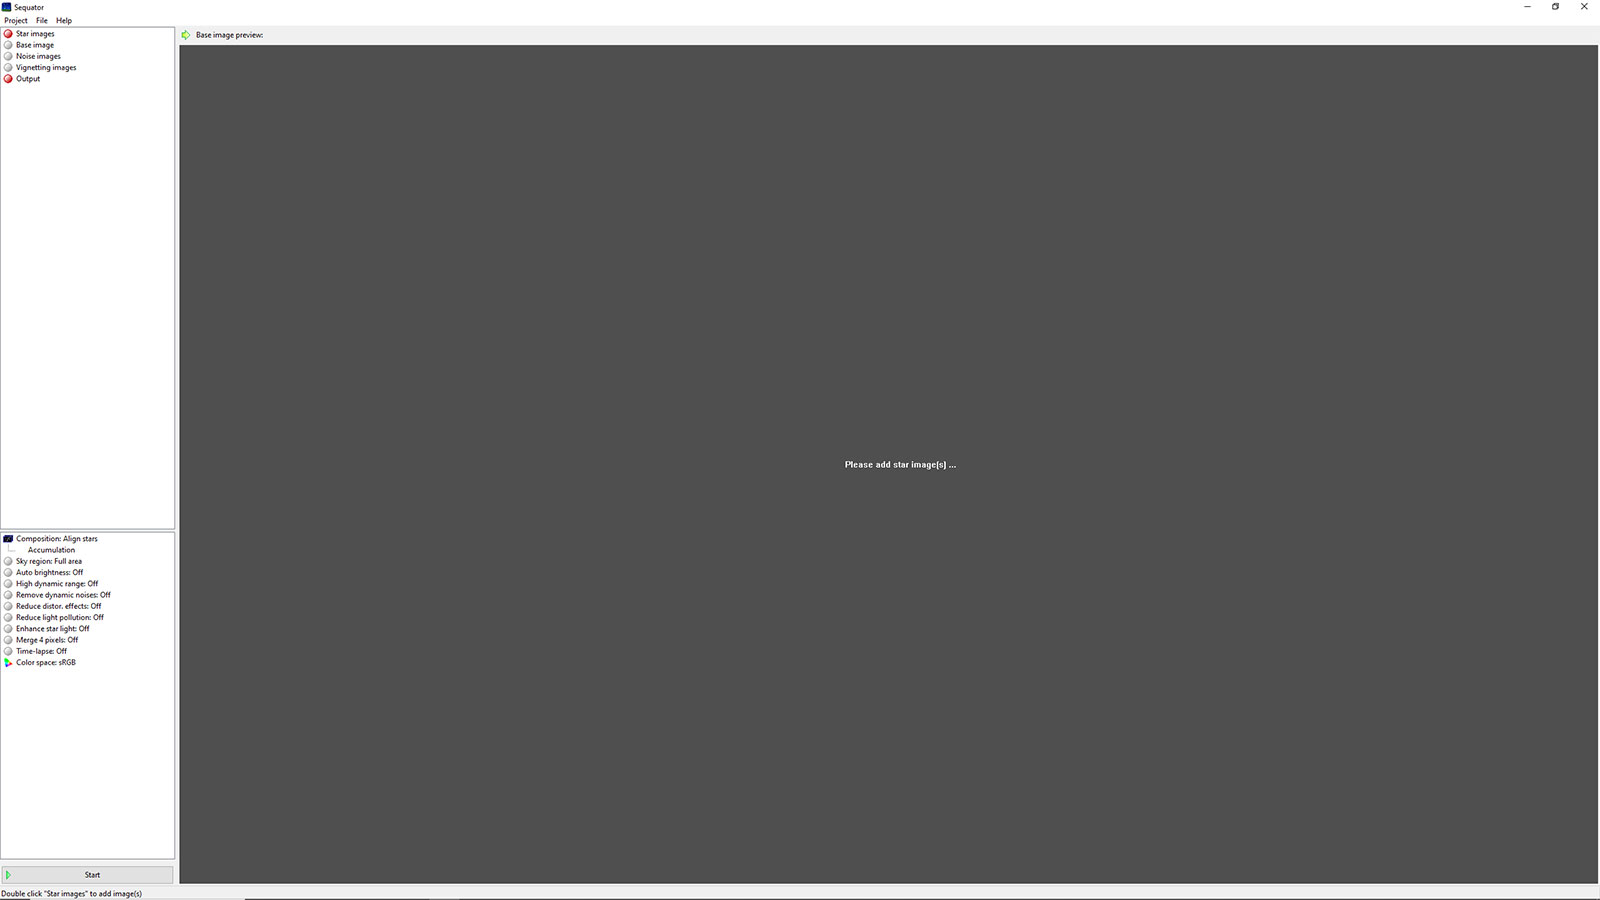
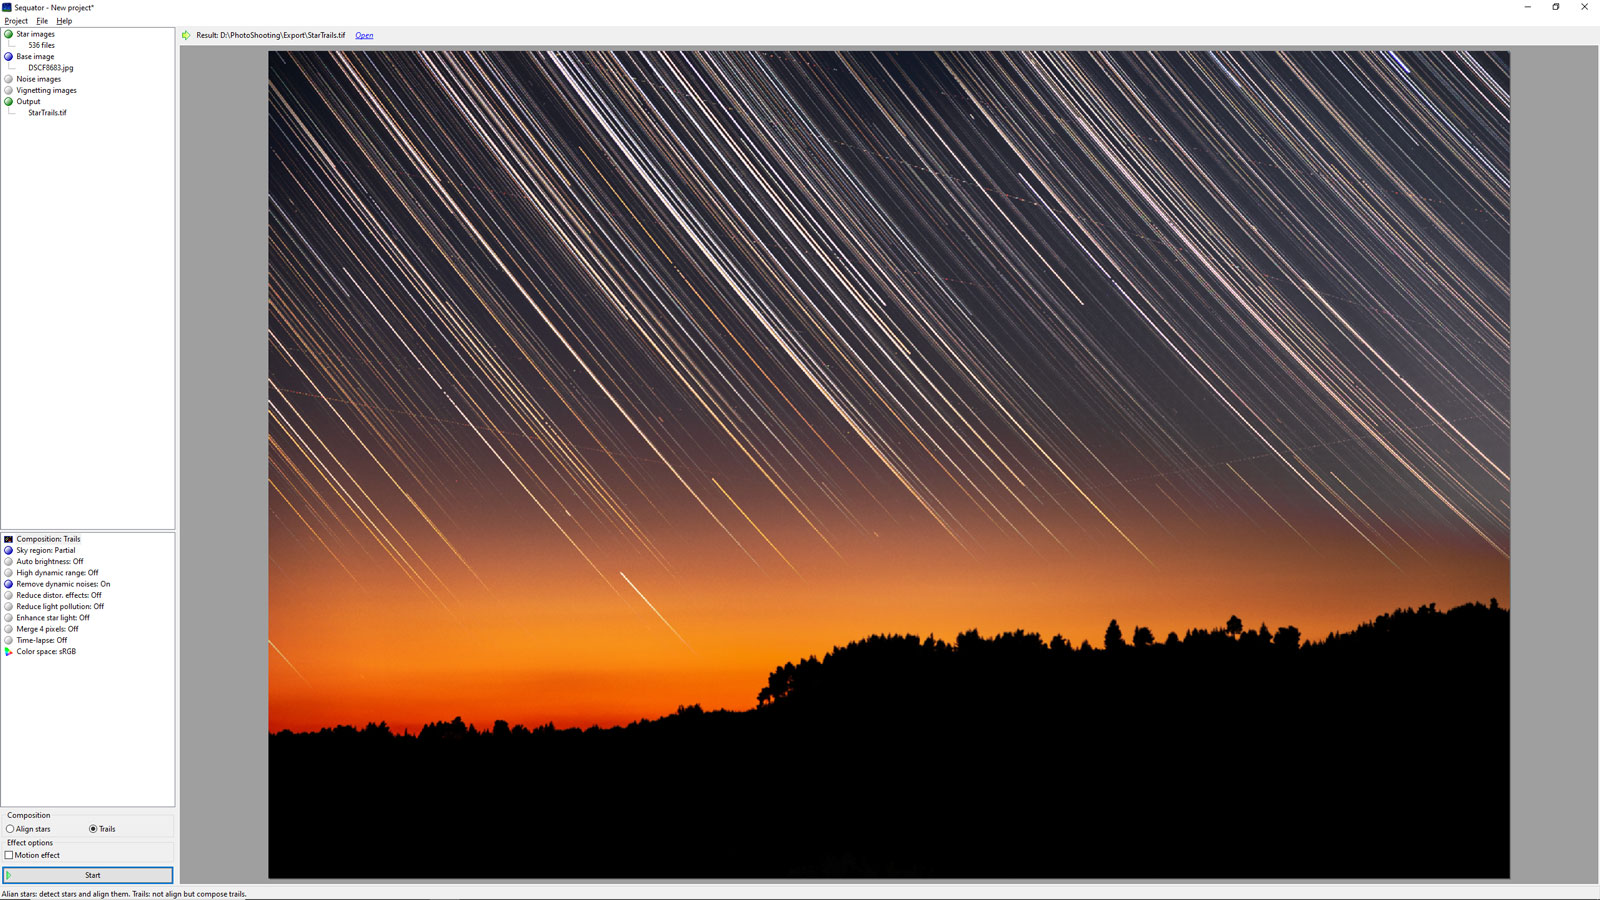
This is the user interface of the software.
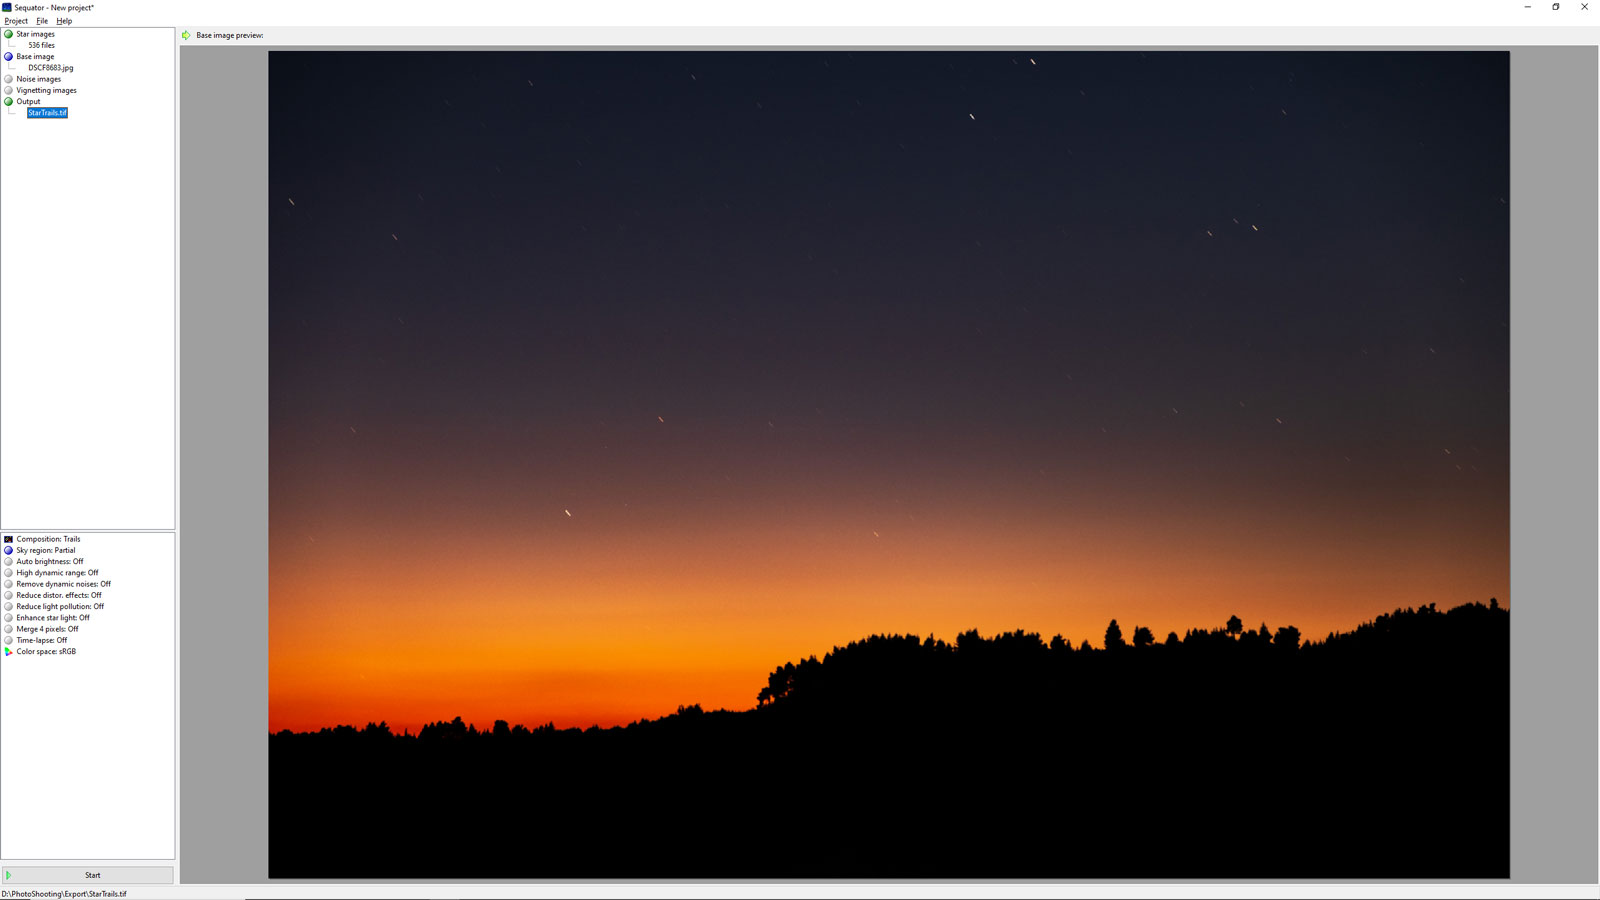
So click on the Star Images and load your images. For this example I will use around 540 star photos taken with my Fujifilm X-T20 and XF 18-55mm lens at 55mm, ISO 800, f/4 10 seconds each exposure.

Sequator will automatically choose one of them as the base image. This is the image that Sequator will create the star trails onto. Sequator will automatically chooses the middle image for you. You can change it to the one you prefer by clicking on the “Base image”.
Afterwards you might add noise images which are also known as dark frames. You create those images by taking photos just after you have finished taking your star photos, but with the lens cap on. These images are used to remove the noise produced by the sensor heat from your final image. 5 to 10 images are enough, although I don’t usually get into this process.
Now double click on Output and navigate to where you want to save your star trails final image. A 16 bit tiff file will be produced at the end which includes enough color information to further process it if you wish.
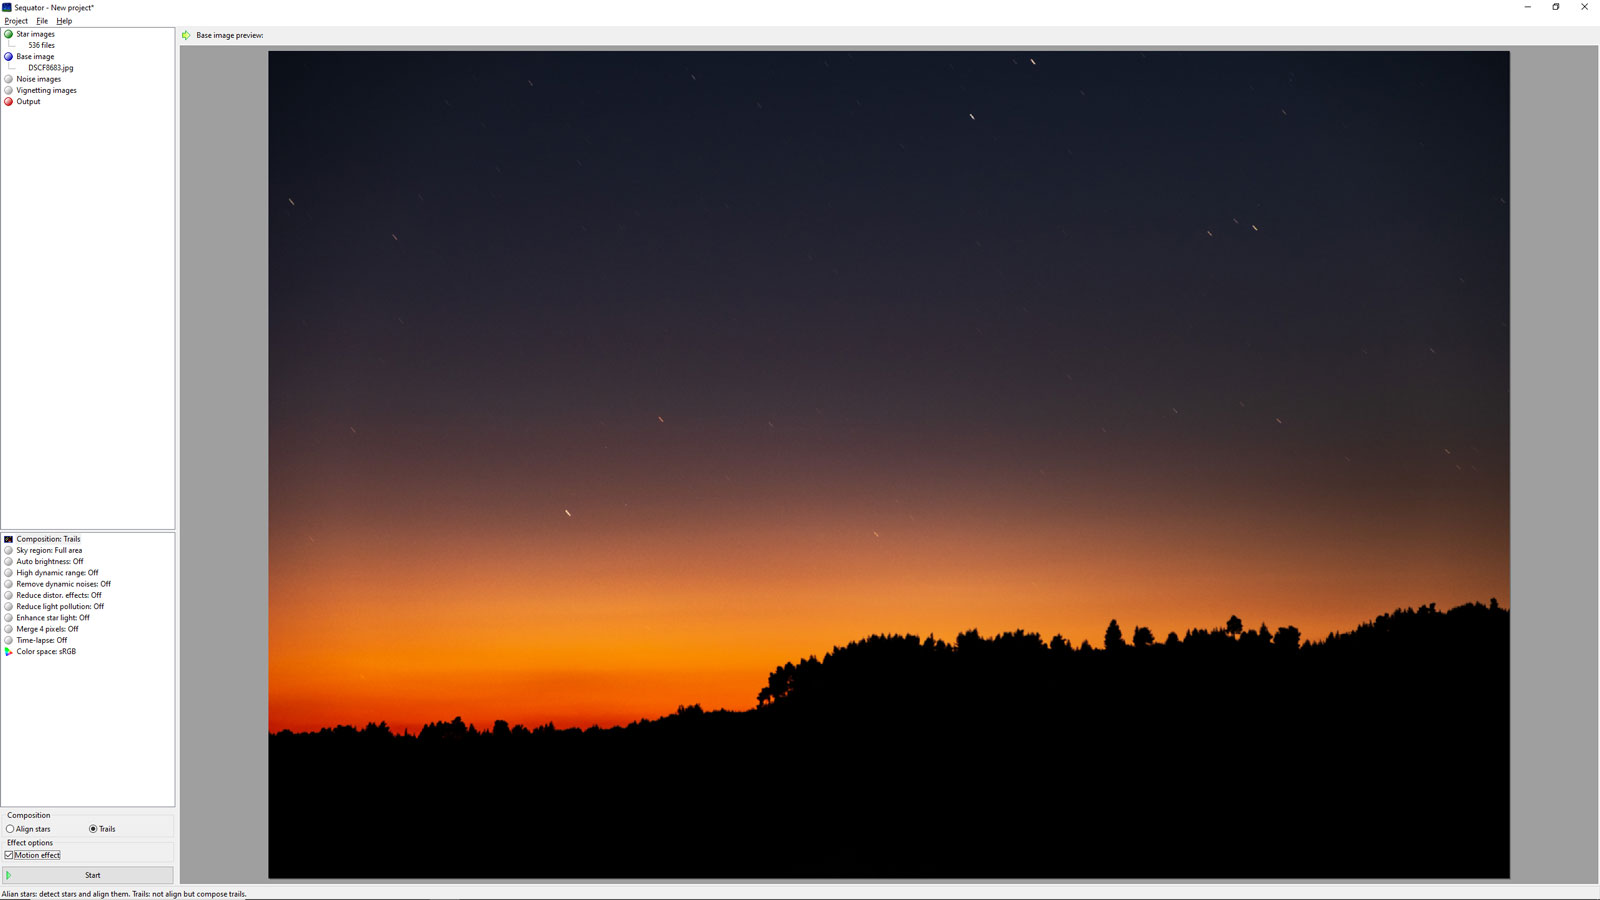
In composition we will choose Trails as you imagine. This will give you the option to create comet-like star trails by choosing the Motion effect checkbox. Again I suggest to experiment both with and without this option and see what suits better for your image.
Next you have to define the sky part of your photos. Click on the “Sky Region”. Usually I choose the irregular mask and I paint on the sky. To remove an area you painted just use the right mouse button. Using the scroll wheel you can increase and decrease the brush size.

- Auto brightness will adjust the brightness levels in your image in case you have accumulated a too long exposure. I usually turn it off.
- High dynamic range isn’t something I use. Usually it is better to leave it off.
- Remove dynamic noises will try to remove hot pixels. If you have used Noise images you can leave this off.
- Reduce light pollution tries to reduce the effects of city lights. You can play with it and see if it improves your image if you have such a case. Usually I leave it off.
- Reduce distortion effects will help in case your star images have significant displacement because of the lens or projection distortion.
- Enhance starlight will increase the brightness of your stars. I prefer doing this myself in post.
- Merge pixels tries to create a cleaner image but since it reduces the image size I also leave it off.
- Color space lets you choose between sRGB, RGB and Linear. Just leave it to sRGB since this is the most common color space used all over the internet.
Once you are ready click on Start. Sequator will start processing your images and after a while, depending on the number of your images and your computer’s cpu, it will show you the final result!
Now you can import your final image into your favourite image processing software, may it be Photoshop or something else and do your final adjustments.
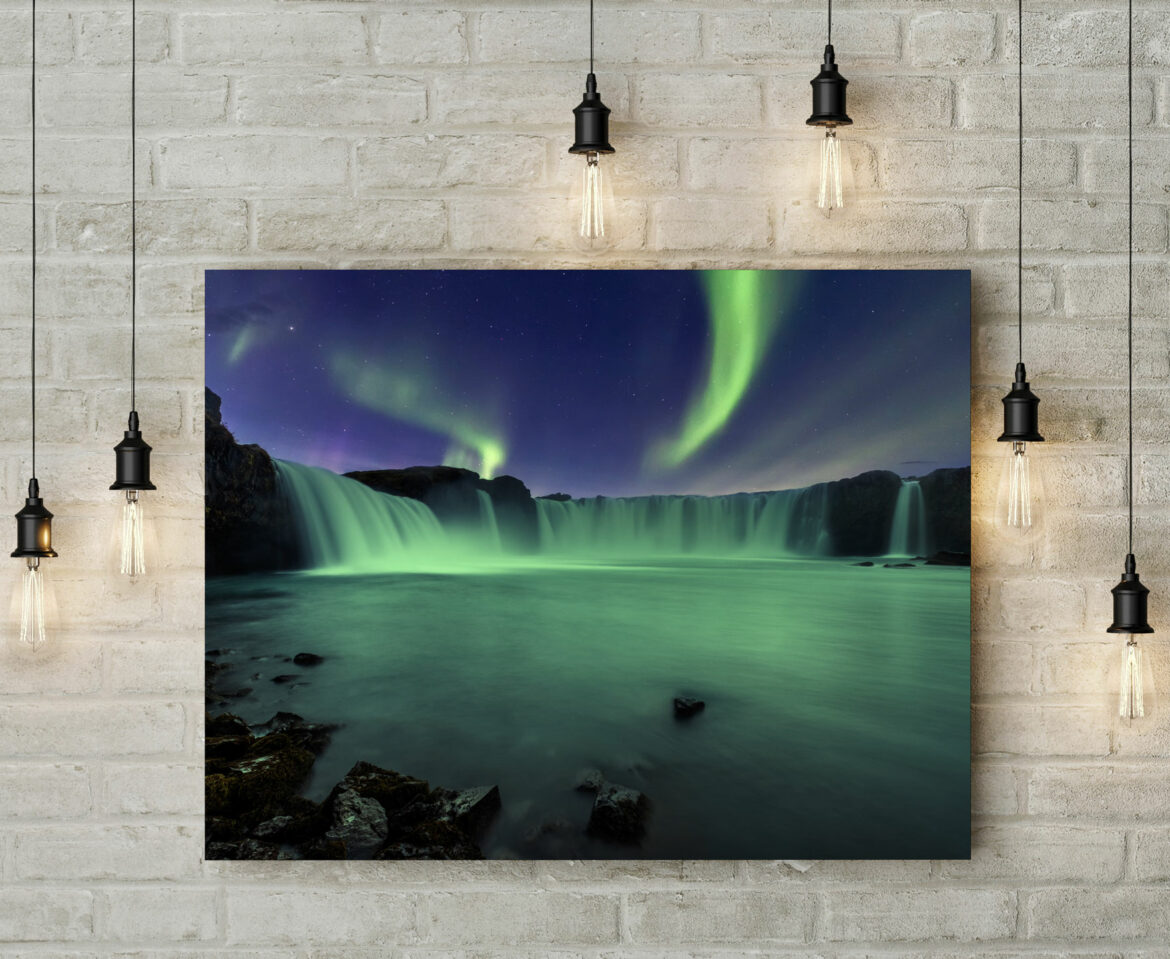
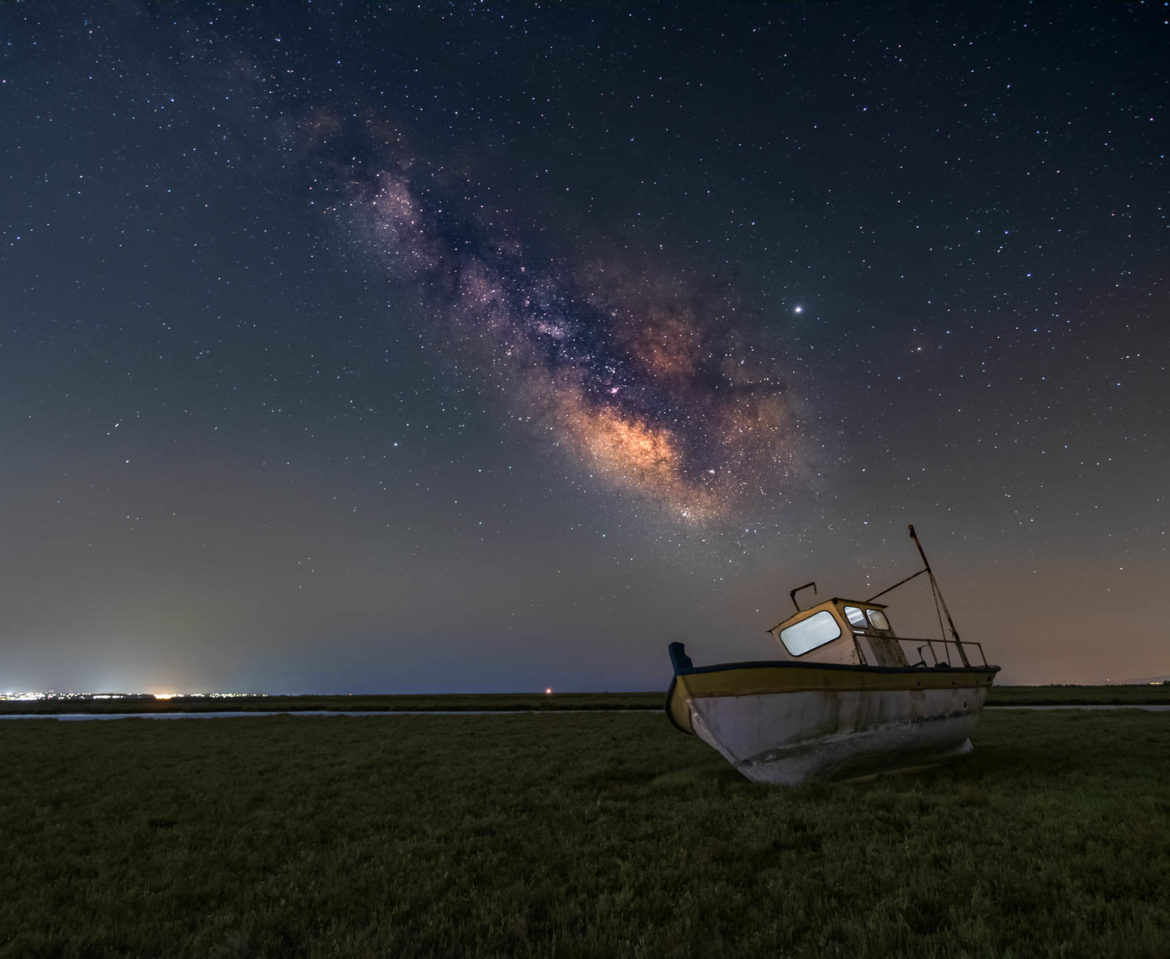
If you’re interested, here’s a collection of fine art prints and other products featuring some of my favorite star trails photographs!
You may also like
Canvas Print vs. Art Print: Choosing the Perfect Artwork for Your Home Decor


Comments on This Post
MaryAuthor
Sequator will not load ARW images from my Sonya7iv. What can I do to rectify this problem?
Thank you,
Mary
Alexios NtounasAuthor
Hello Mary. As I can see in Sequator’s page it should support Sony A7 IV raw files. Make sure you have installed the latest version, which is 1.6.1 as of now, from here Download Sequator.
If you still cannot open those ARW files then you can convert them to TIFF files prior importing them to Sequator.
Let me know if it has worked for you!