6 Tips to Improve your Milky Way Photography
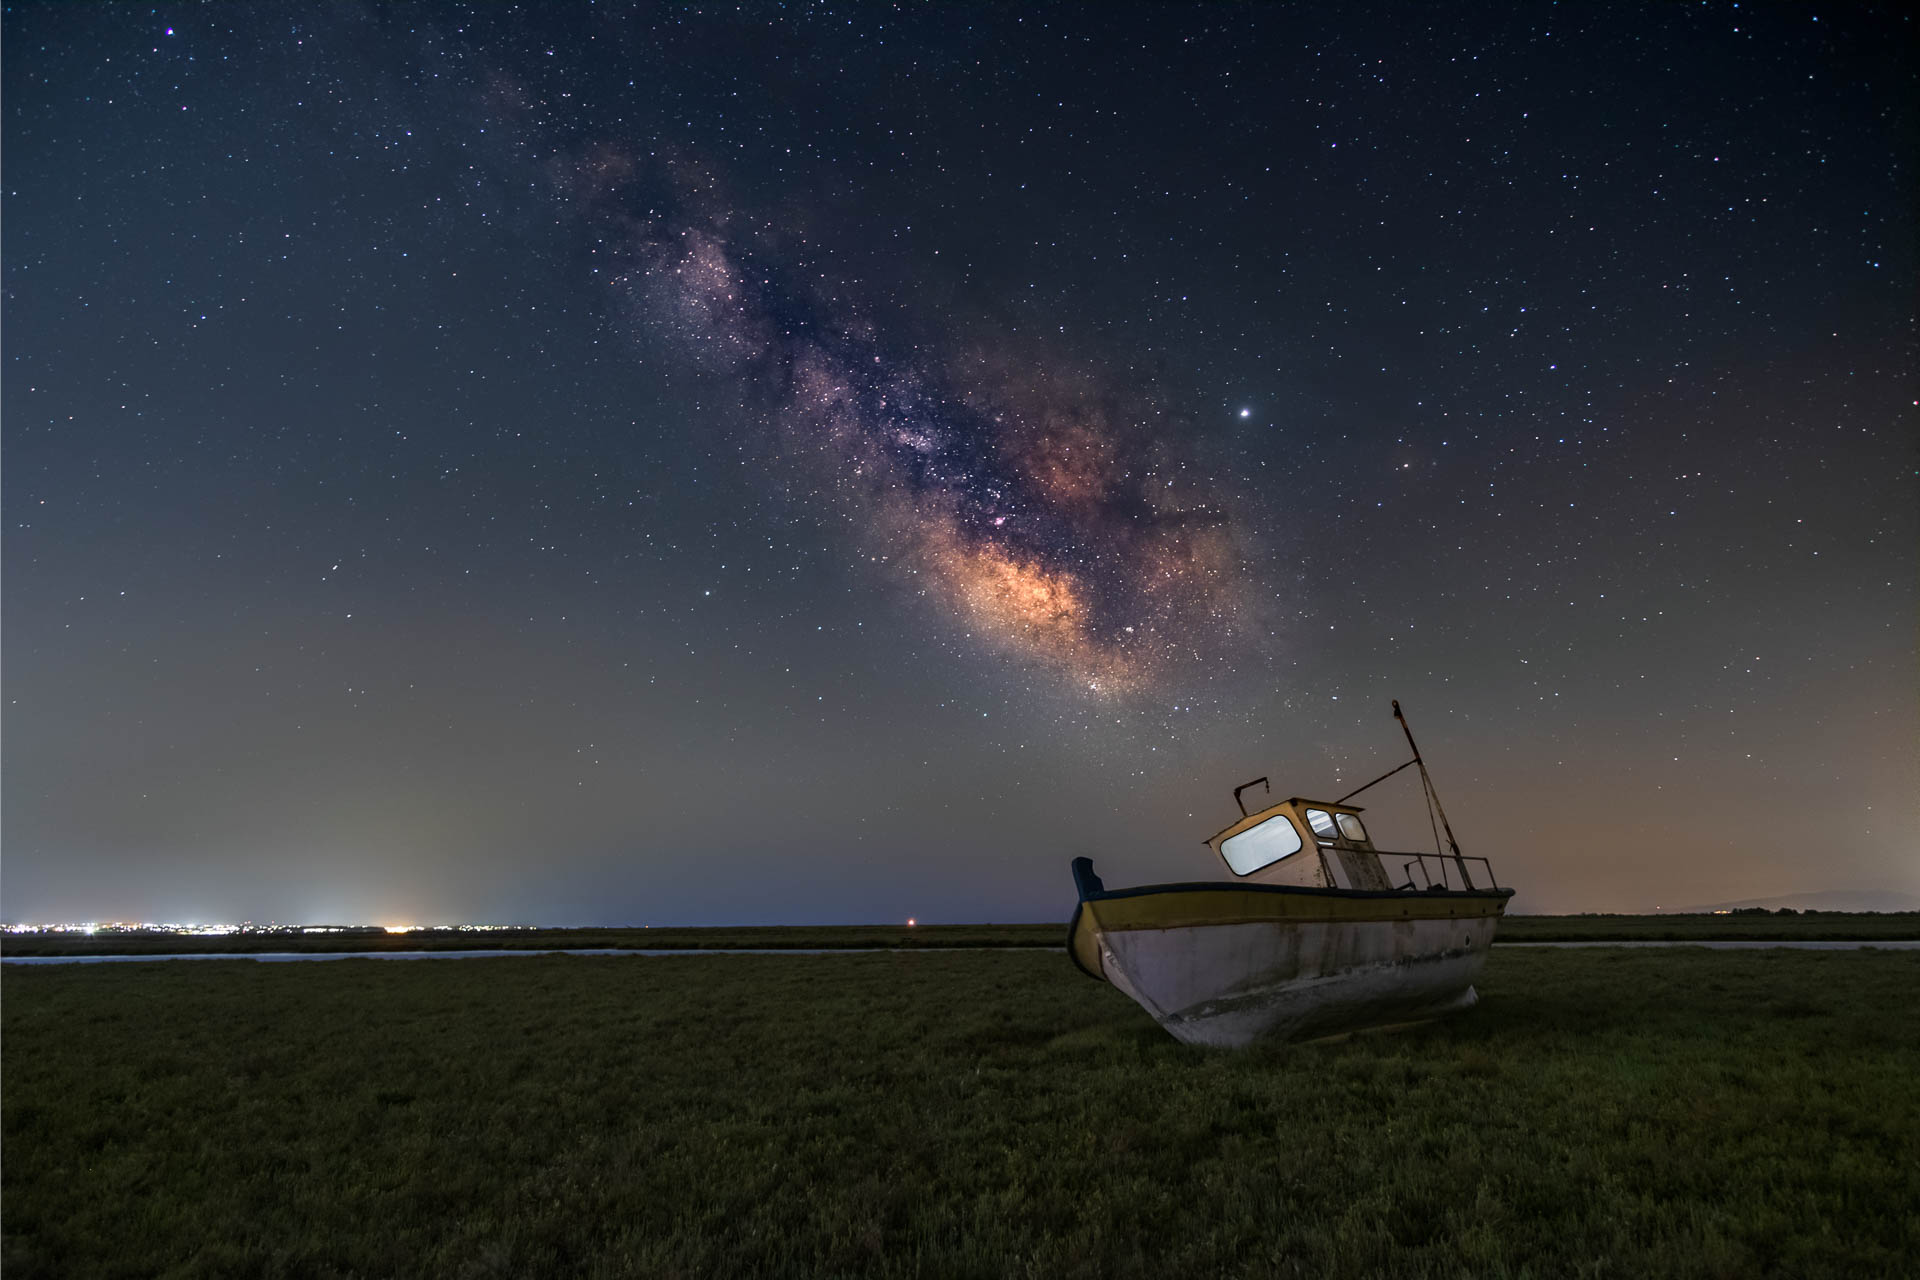
Most astrophotographers undoubtedly enjoy capturing the center of our Milky Way galaxy. Since the core season of the Milky Way begins in March, I thought I’d provide some tips and tricks to help you improve your milky way photography. So, let’s get started!
1. Find dark skies
The first step in capturing an excellent photo of the Milky Way is to seek for the darkest sky possible. Without a dark sky, no matter what gear you have, filters you employ, or post processing you do, you won’t get very far. As a result, utilise a website like https://www.lightpollutionmap.info/ to discover a local spot that isn’t excessively light polluted. But don’t forget to think about which way you’ll be facing. Make sure there are no towns or cities towards where you’re photographing.
2. Scout in the daytime
Trying to come up with an interesting composition late at night is not only difficult, but also dangerous. Make use of the daylight to scout the area for an unique subject or composition. Also, keep an eye out for potential hazards such as a hole in the ground or a cliff edge. This way, you’ll be prepared for the night, knowing exactly what your composition will be and what to avoid. During the day, take a couple photographs with your camera or even your smartphone to ensure that your composition works.
3. Plan your shot
Nowadays you can even plan your shot even before getting at the location. Search Google for photographs of the location and use Google Maps Street View to take a look around. You can also use an app like Photo Pills to see where the Milky Way is, when the Milky Way Core is visible, and other information.
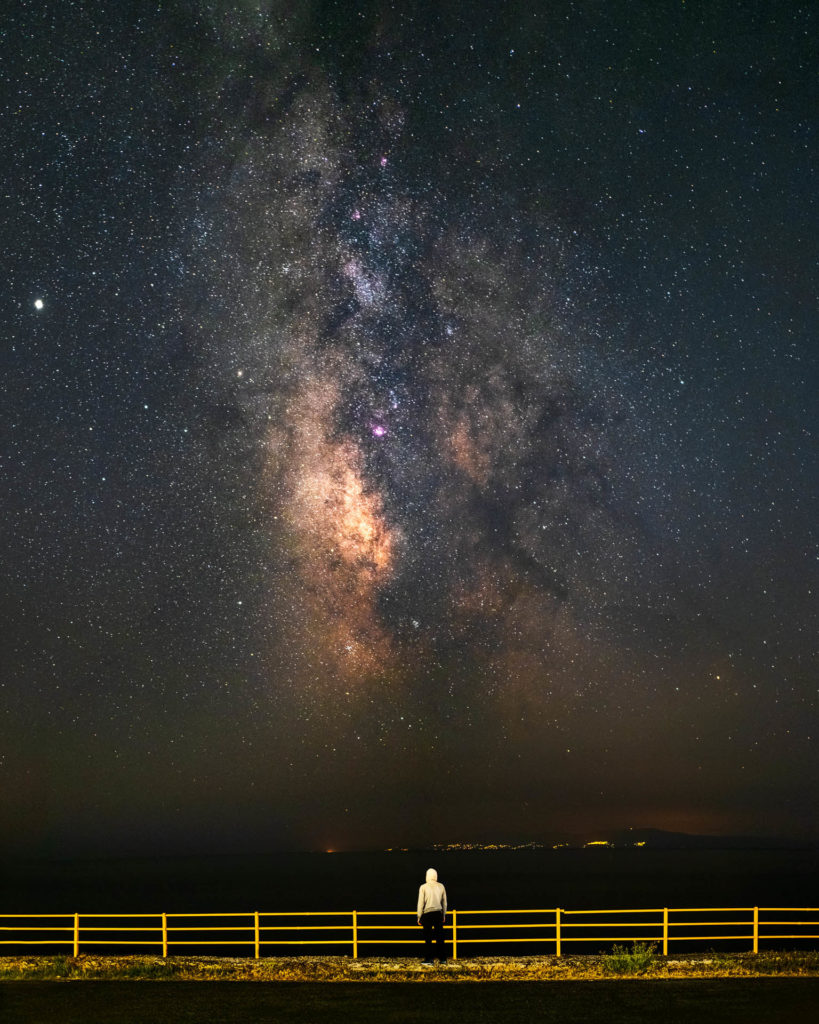
4. Use a fast lens
A fast lens is required to catch as many details of the Milky Way as possible. At the very least, I recommend f2.8, but if you can find a lens that opens up to f1.8 or f1.4, that’ll be much better. The more light you gather, the less noise there will be in the photograph, the brighter the milky way will be, and the more detail there will be. A wider aperture allows you to use a lower ISO, resulting in less noise.
5. Use a star tracker
The rotation of the earth limits the exposure time. This means that, in order to eliminate star trails, there is an upper limit on your exposure time based on your lens and camera. Because it moves with the earth, a star tracker allows you to get around this restriction. As a result, while your stars are round and pinpoint, you can easily acquire 1 or 2 minute exposures. You can also keep your ISO low, resulting in a lower-noise image. You’ll eventually get more information, the milky way will be brighter, and the image quality will be so much better!
6. Stack your photos
No matter whether you have a star tracker or not you can use a technique called photo stacking in order to get rid of the noise in your astrophotos. You take multiple photos of the same scene without moving your camera which you later blend together using a software. Because noise is distributed randomly throughout the image, these software average pixels and remove noise as a result. I like using Sequator which is a free software for Windows. If you are a Mac user, try Starry Landscape Stacker. However, it is not free. Experiment to find out how many photos you will need to stack in order to create a great final image.
I hope you find those tips and tricks useful! You can also check my How to photograph the milky way for beginners tutorial and my How to stack Milky Way photos using Sequator!


Comments on This Post
Bob DeckerAuthor
Thanks for this. Very timely considering our local National Seashore was just recognized as a Dark Sky Park by the International Dark Sky Association.
Alexios NtounasAuthor
That’s fantastic! Tip number 1 is accomplished! I hope I was able to help you in photographing the Milky Way!